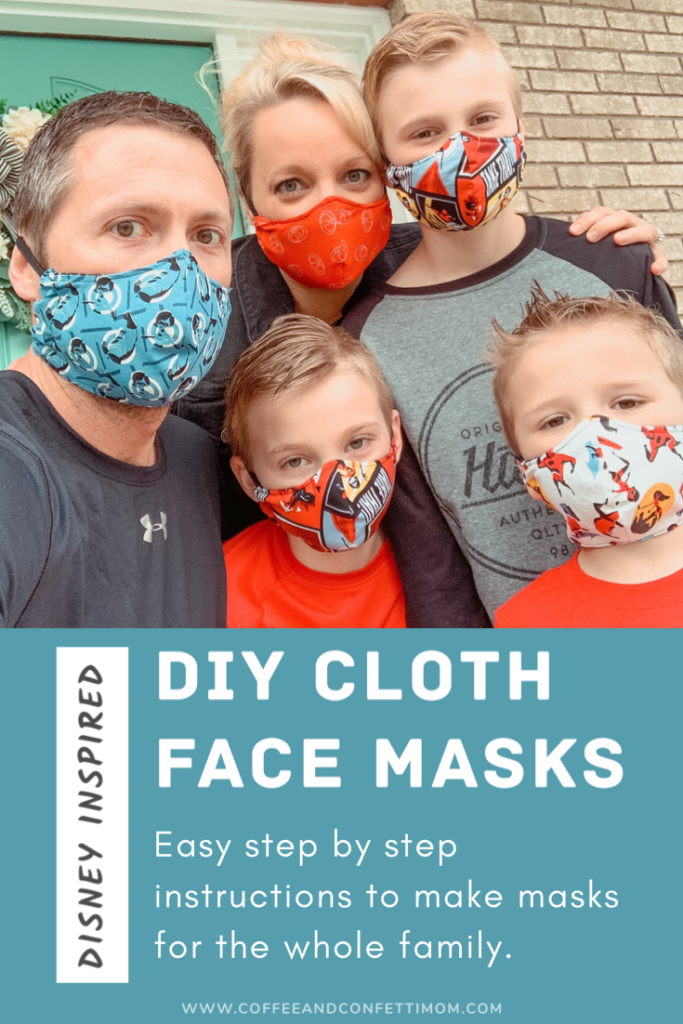
We are living in a whole new world during this COVID-19 pandemic. Federal health officials are now recommending that we cover our faces when we go out in public places. Given this recommendation, homemade face masks have now become essential items. As parents, we are all trying to do the best we can to protect our family. That means we should all have masks for every member of our family in case of emergencies. If you would of asked me if I would ever imagine writing a post about DIY face masks, I would of thought you were crazy but here we are.
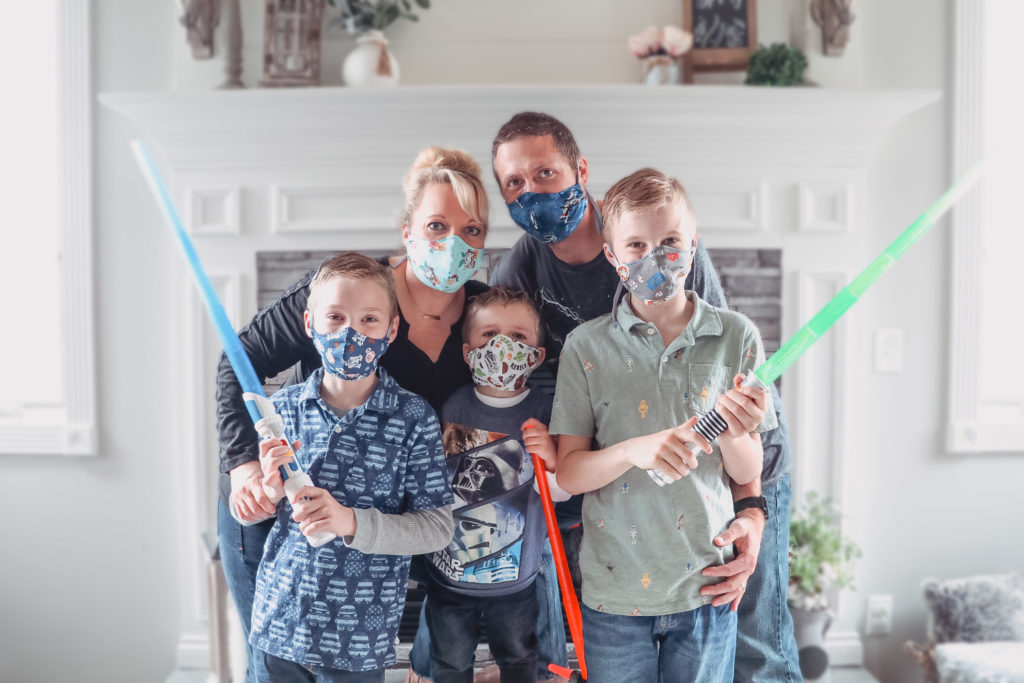
My plan was to make 3 masks for each member of my family. One to wear, one spare to have on hand as backup, and one in the wash. Although I don’t plan on taking my boys out anywhere, we do need them in case of an emergency. How many times have you said ‘Don’t do that, I don’t want to have to take you to the emergency room’? Probably too many to count, right? Here are the CDC guidelines for how to Use Cloth Face Coverings to Help Slow the Spread.
Supplies Needed
- Pattern
- Fabric for outer layer and lining- washed, preferably 100% cotton
- Fabric Marking Pen
- Thread
- Floral wire
- 1/4 inch knit elastic
- Scissors
- Iron
- Sewing machine
Step By Step Instructions
Step 1: Iron washed fabric.
Step 2: Print out pattern (best on cardstock paper) and cut out the template.
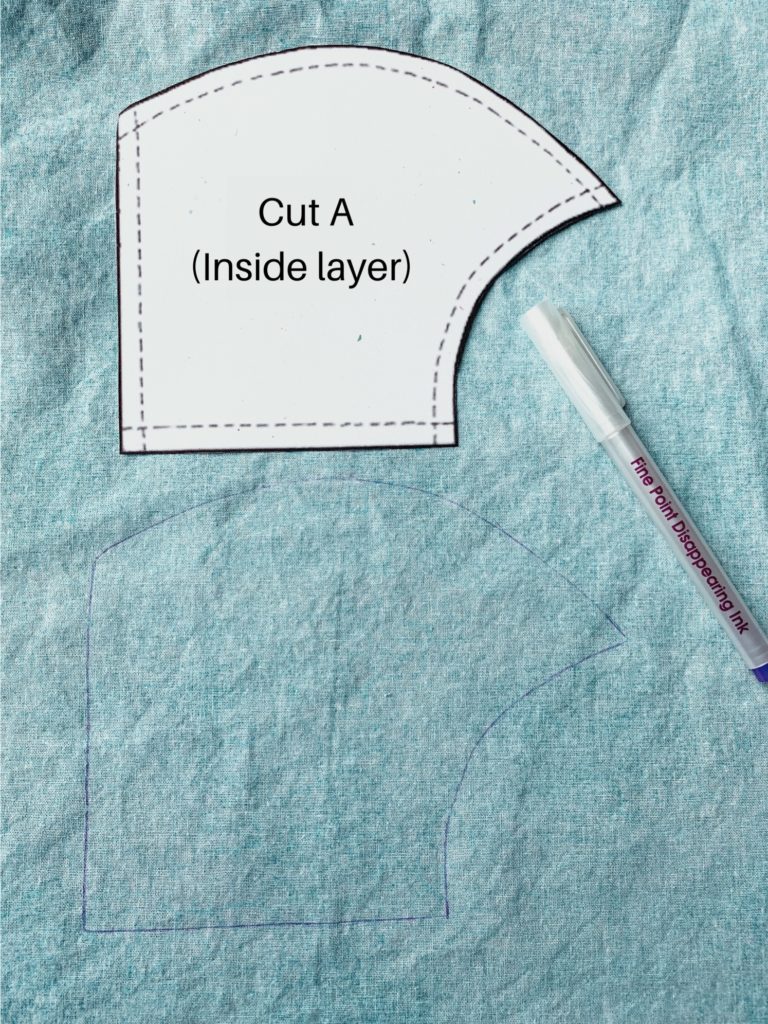
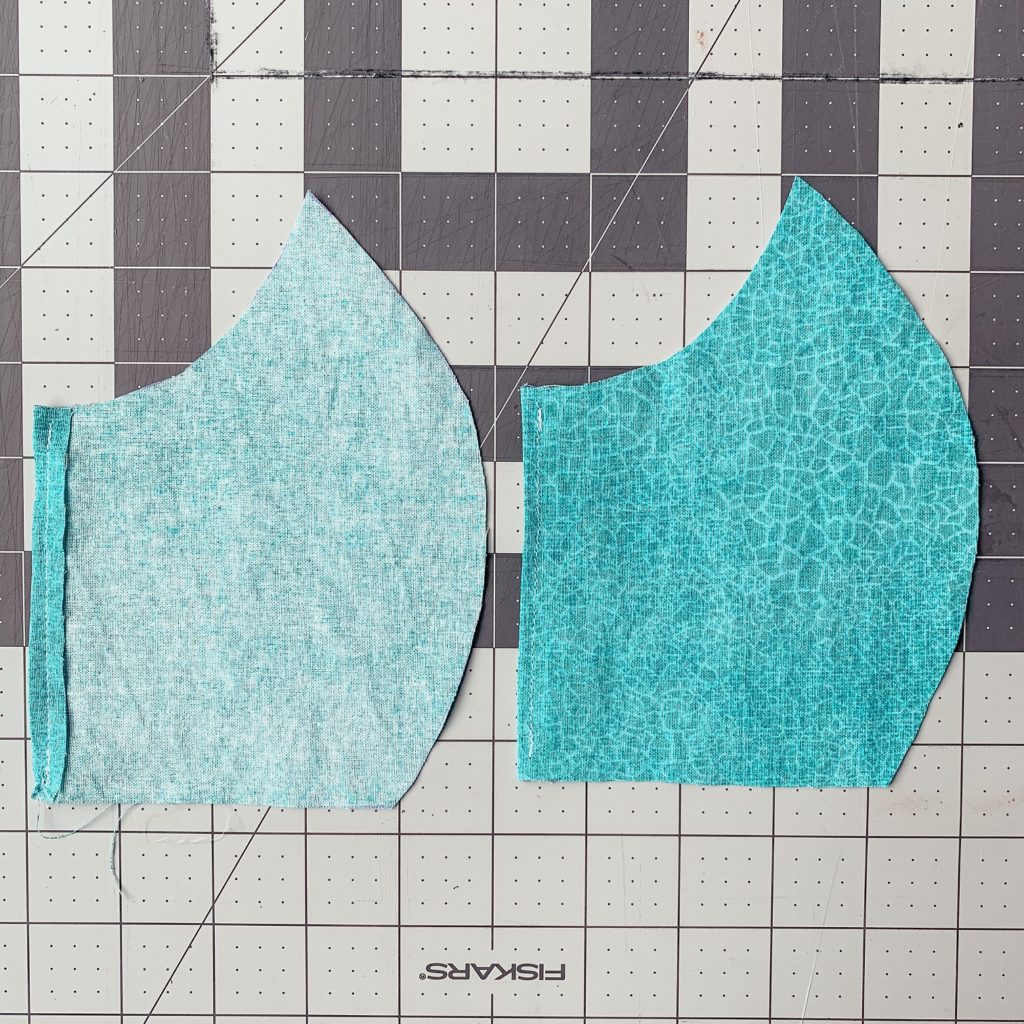
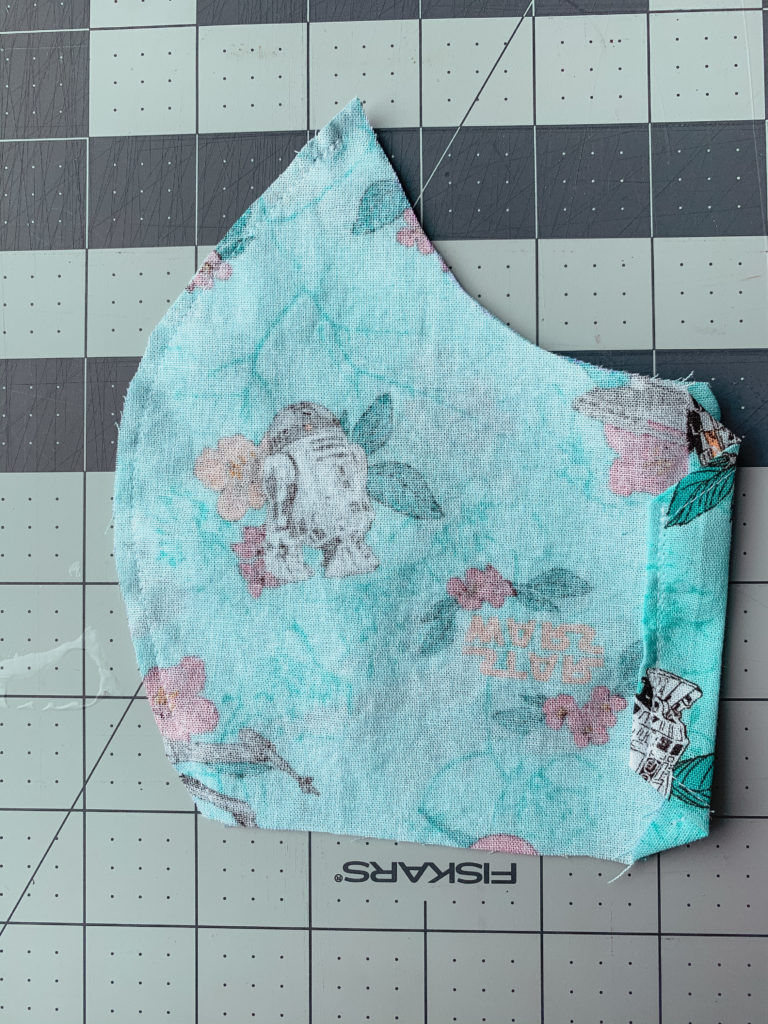
Step 3: Trace Cut A onto wrong side fabric that you intend to use on the inside of mask using disappearing ink or washable ink from a marking pen. Then repeat the tracing with the mirror image to get 2 cuts.
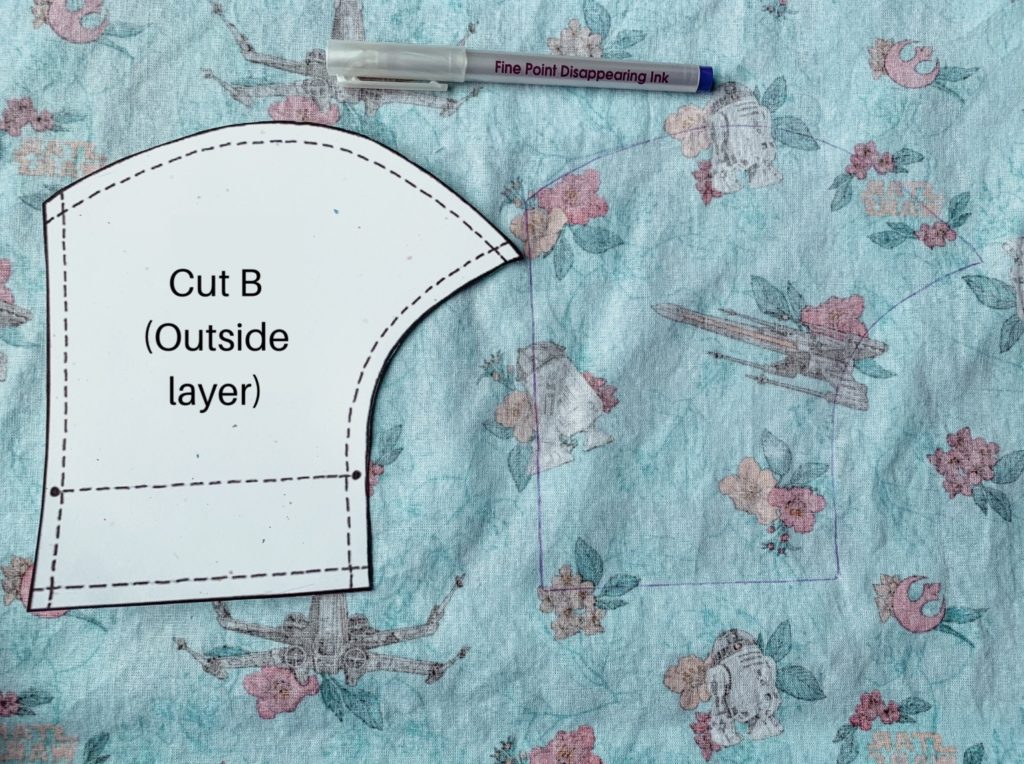
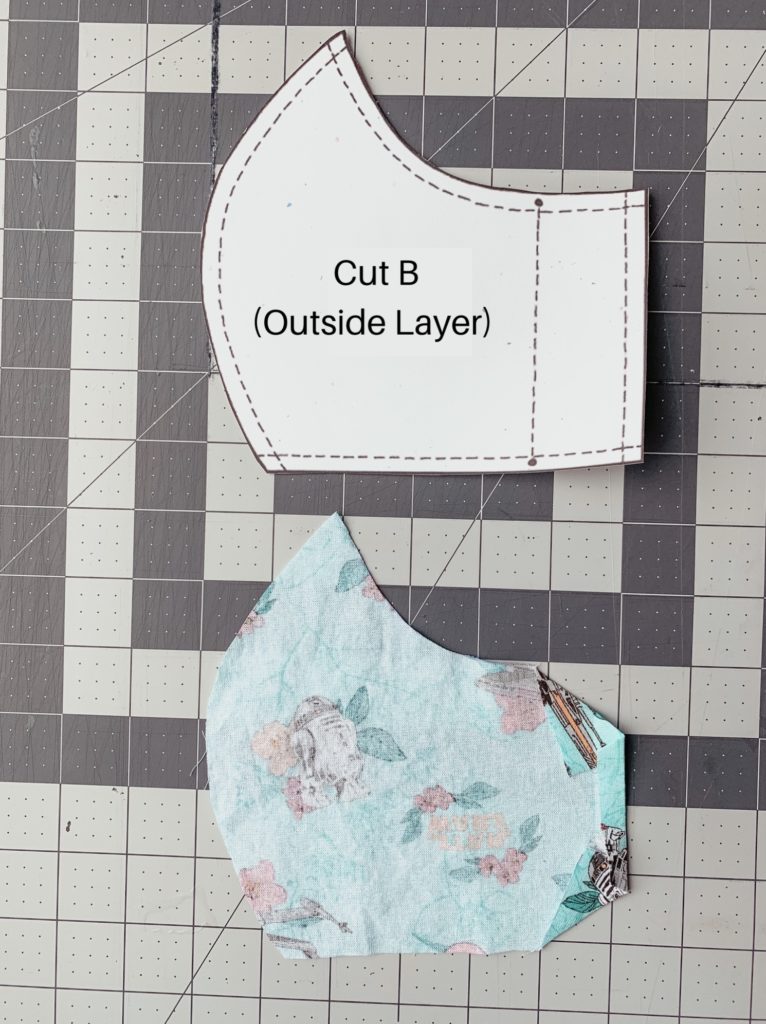
Step 4: Repeat both mirror cuts with the outside fabric layer using Cut B.
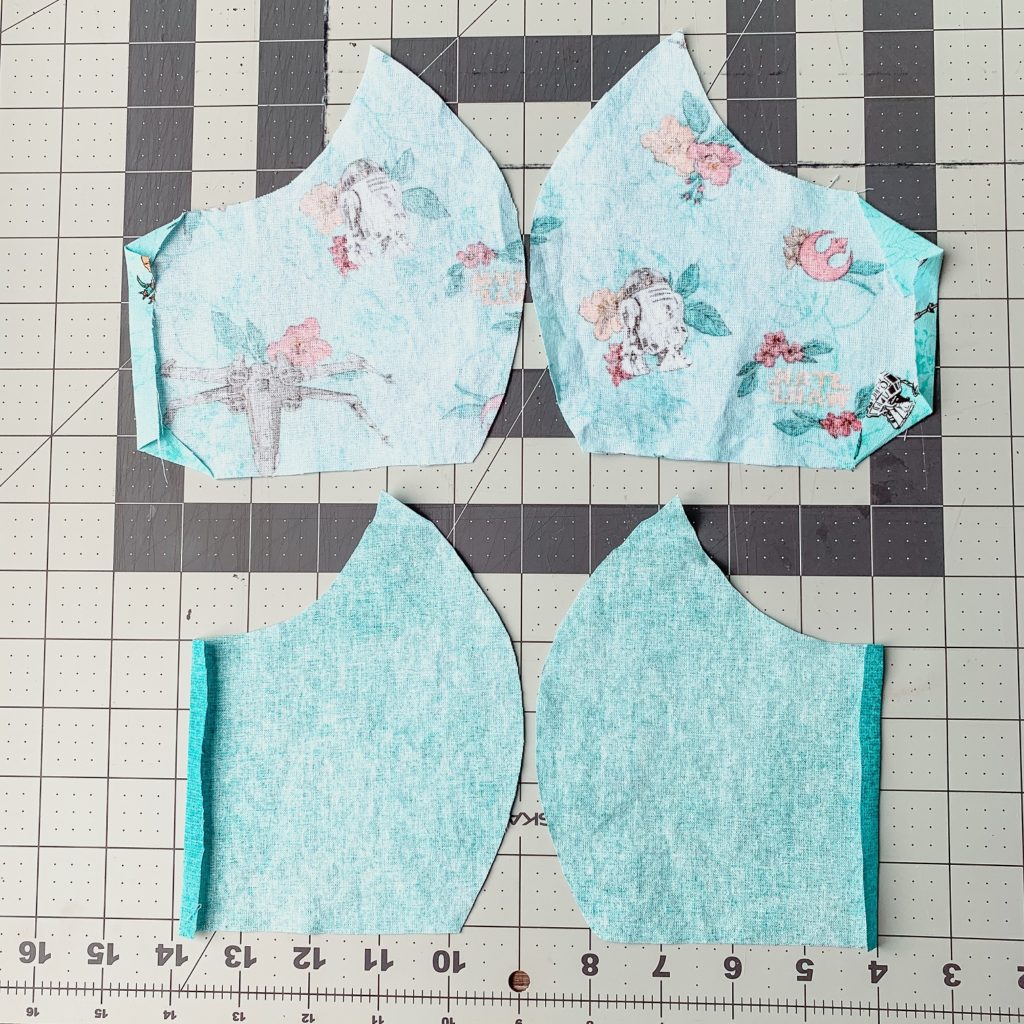
Step 5: On Cut B fold diagonally at dots then add 1/4 inch seam allowance and press with iron.
Step 6: On Cut A fold over about 1/4 inch seam allowance and press with iron.
Step 7: Sew seams at 1/8 inch from fold on all the edges ironed.
Step 8: Fold and iron Cut B to make a pass through for elastic then sew on outer edge of initial hem.
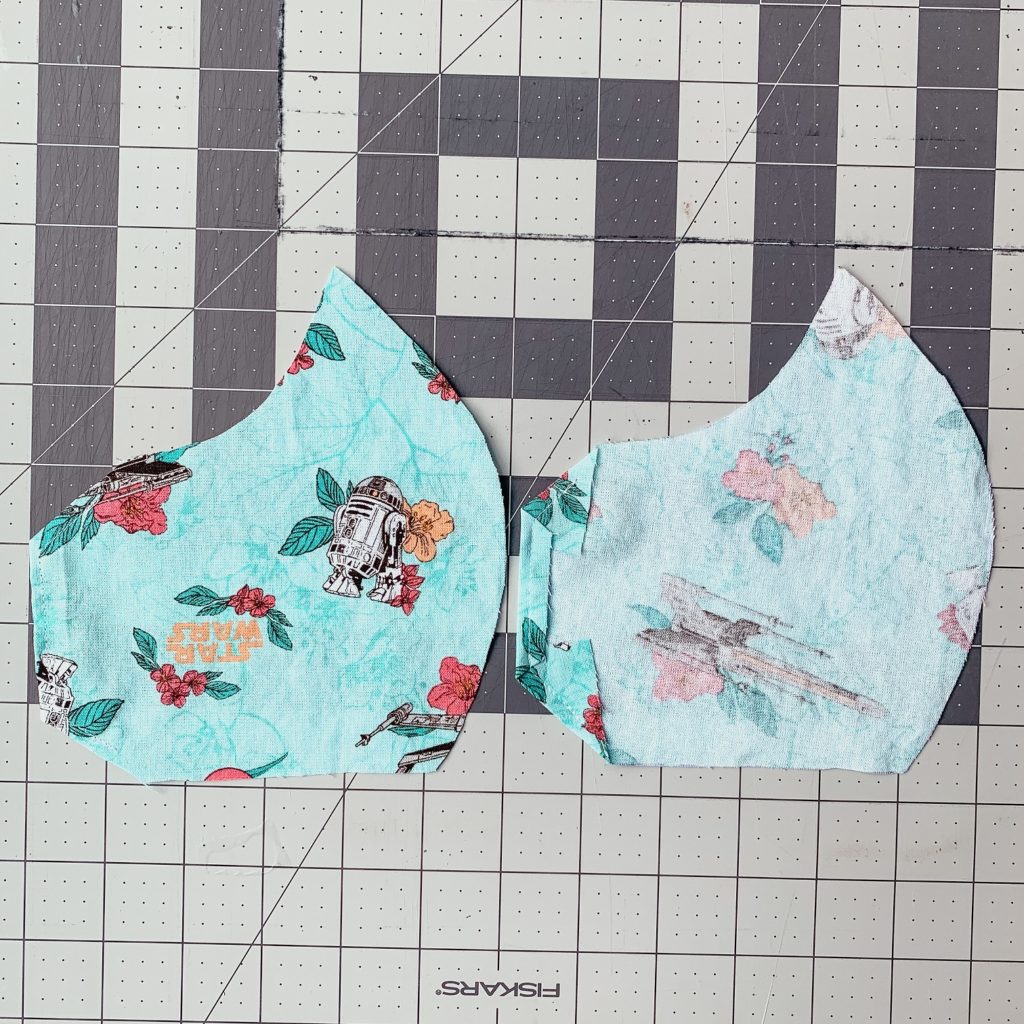
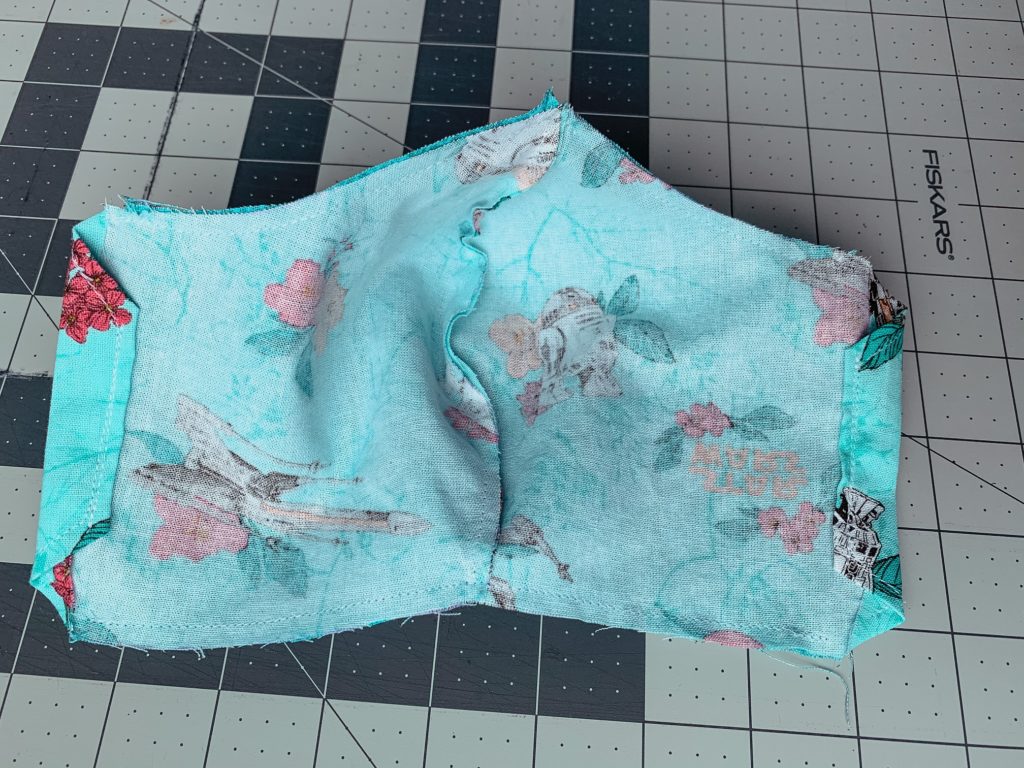
Step 9: Put both right sides together of Cut A and sew with 1/8 inch seam along curved edge only. Then repeat steps with Cut B.

Step 10: Sew along the bottom and top sides only with right sides together.
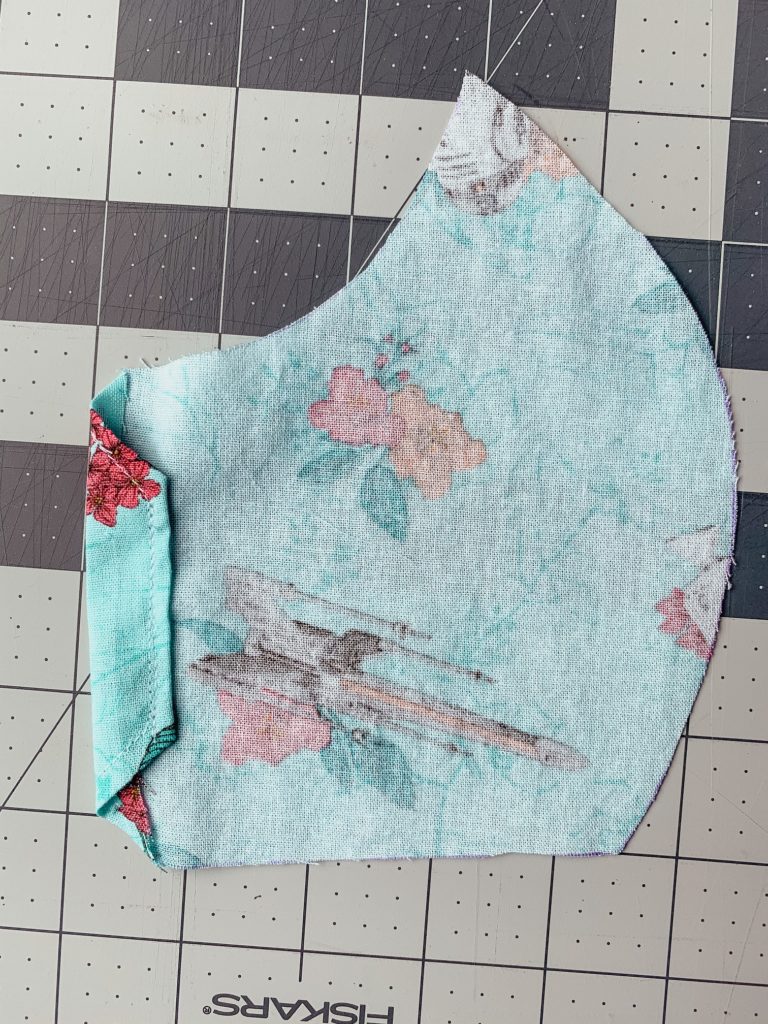
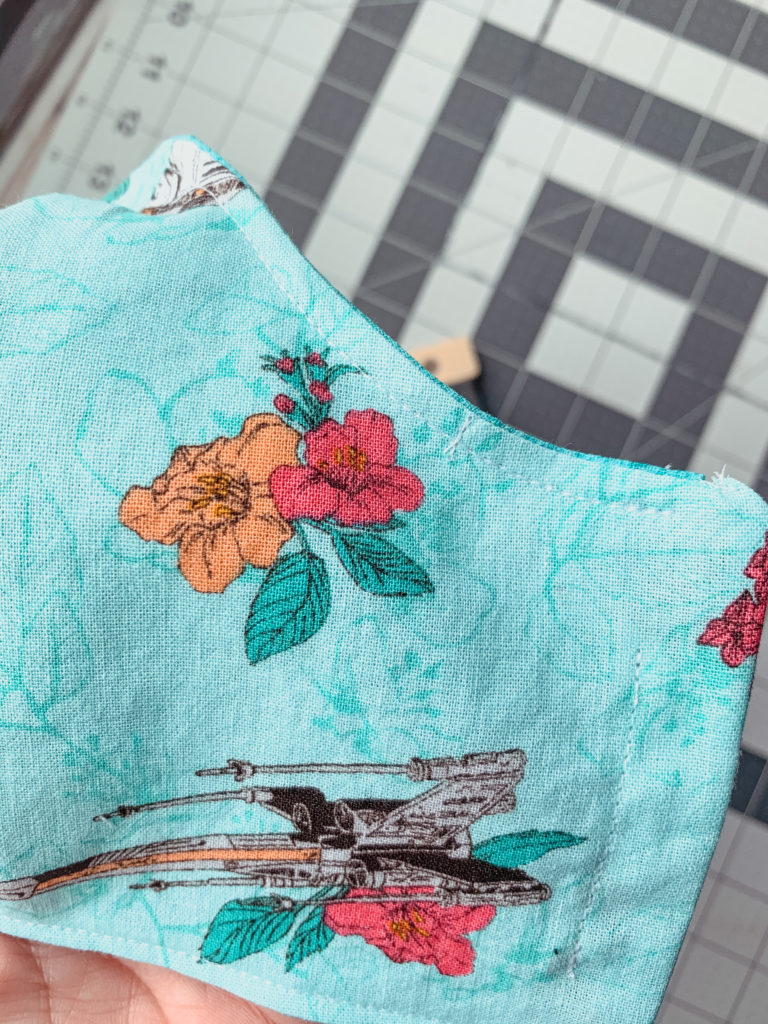
Step 11: Flip inside out and press all the edges with iron.
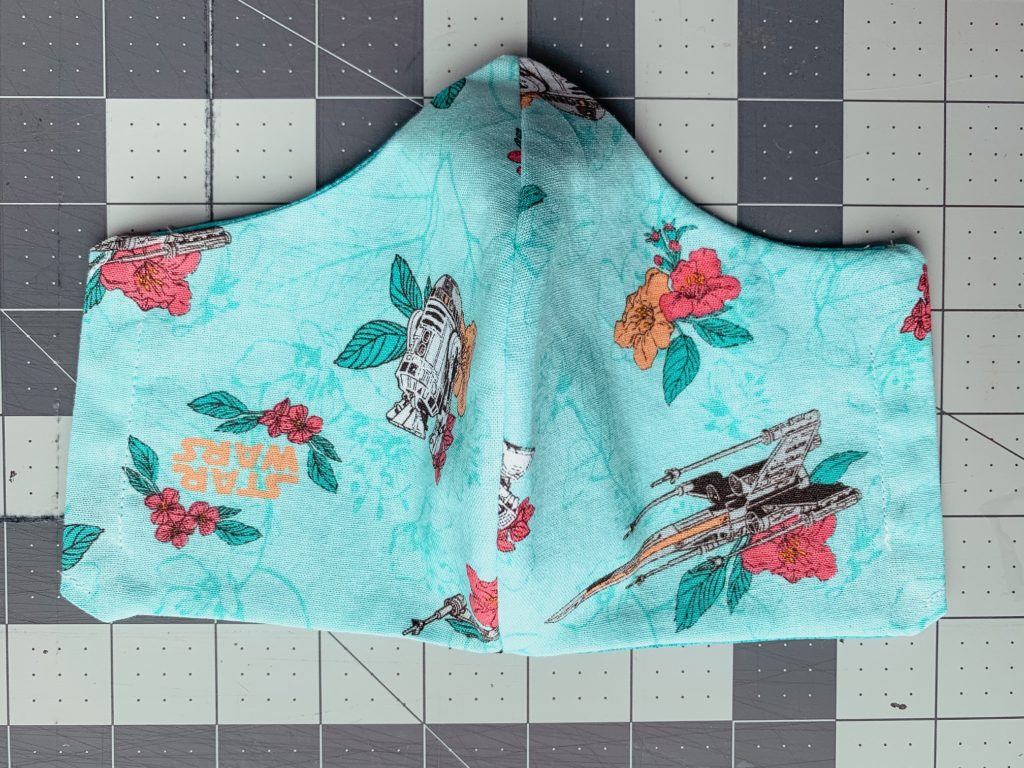
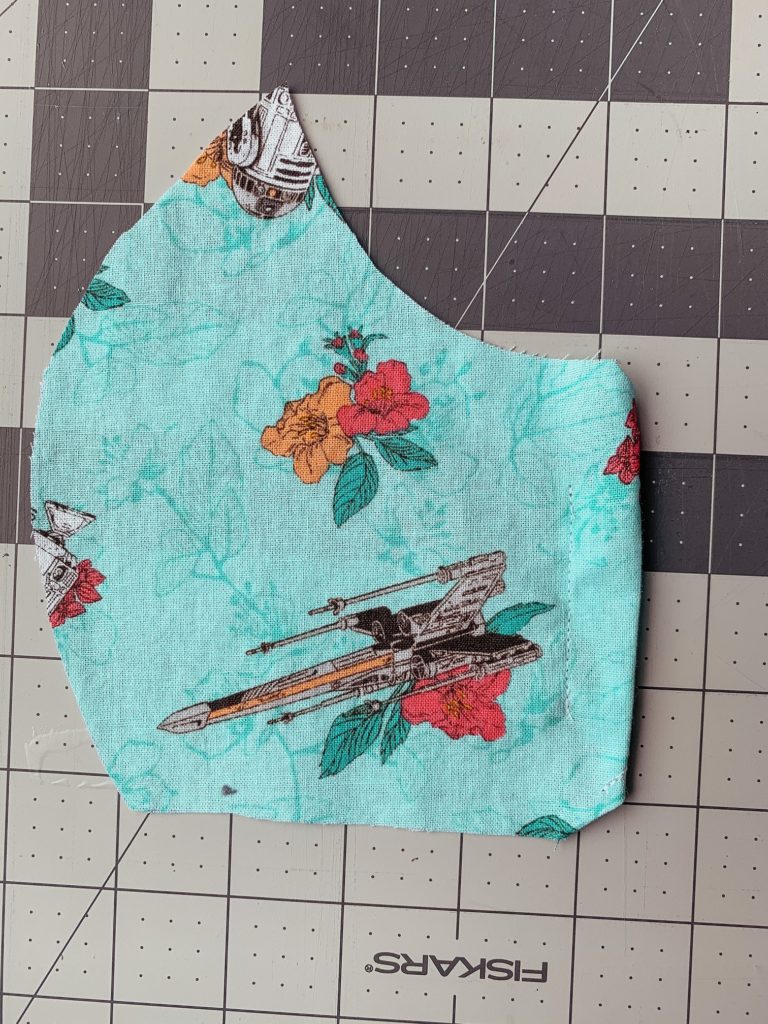
Step 12: Sew across the bottom edge and top sides at 1/4 inch from outer edge (carefully to allow wire to pass through especially at the point around the nose).
Step 13: Cut floral wire at 14 inches and fold in half. Secure the pointed ends by folding back about a half inch and twist. Continue the twist as much as you can. This will make the wire slide through easier and less likely to poke through the mask.
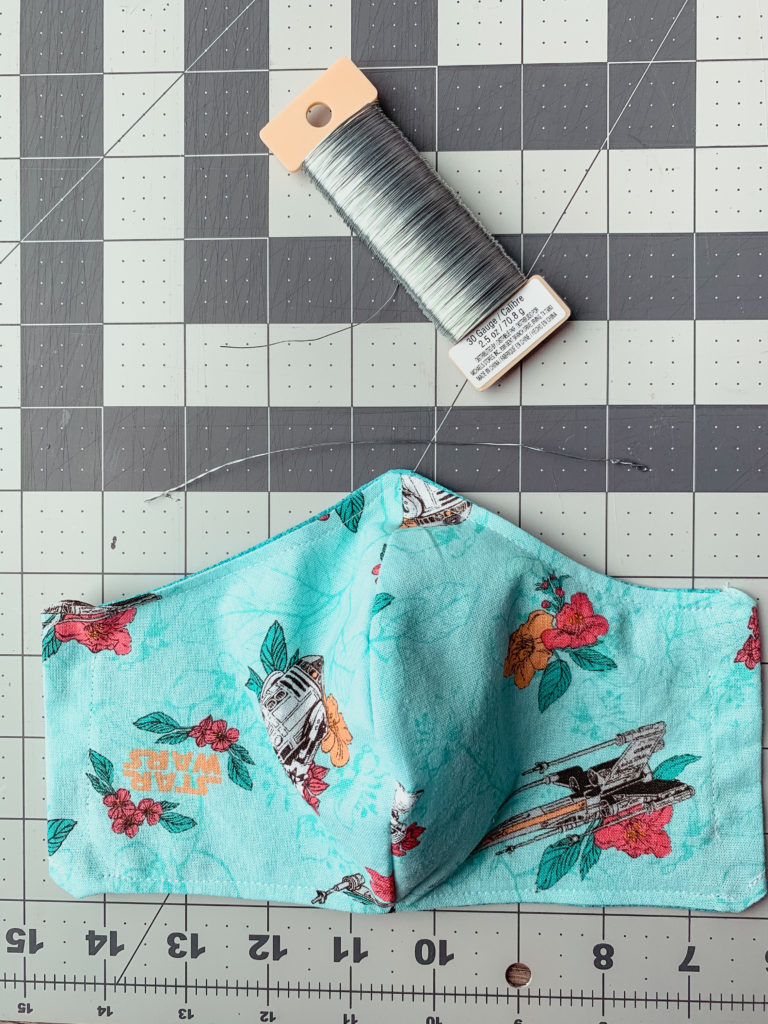
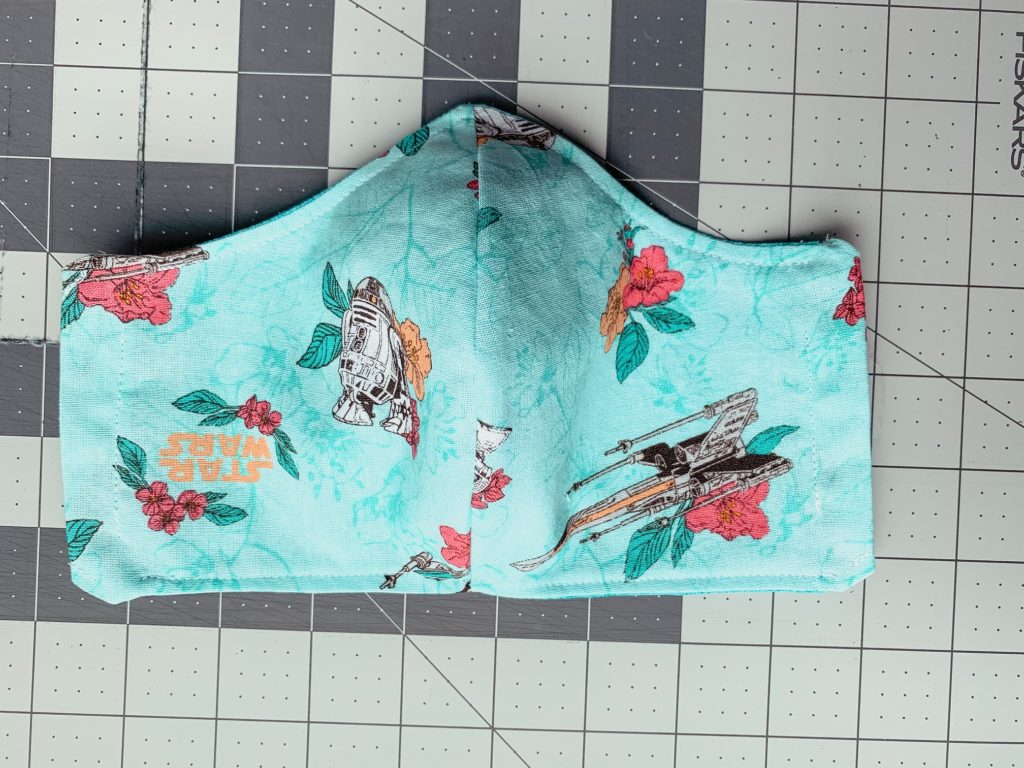
Step 14: Feed the wire through the top seam of the mask.
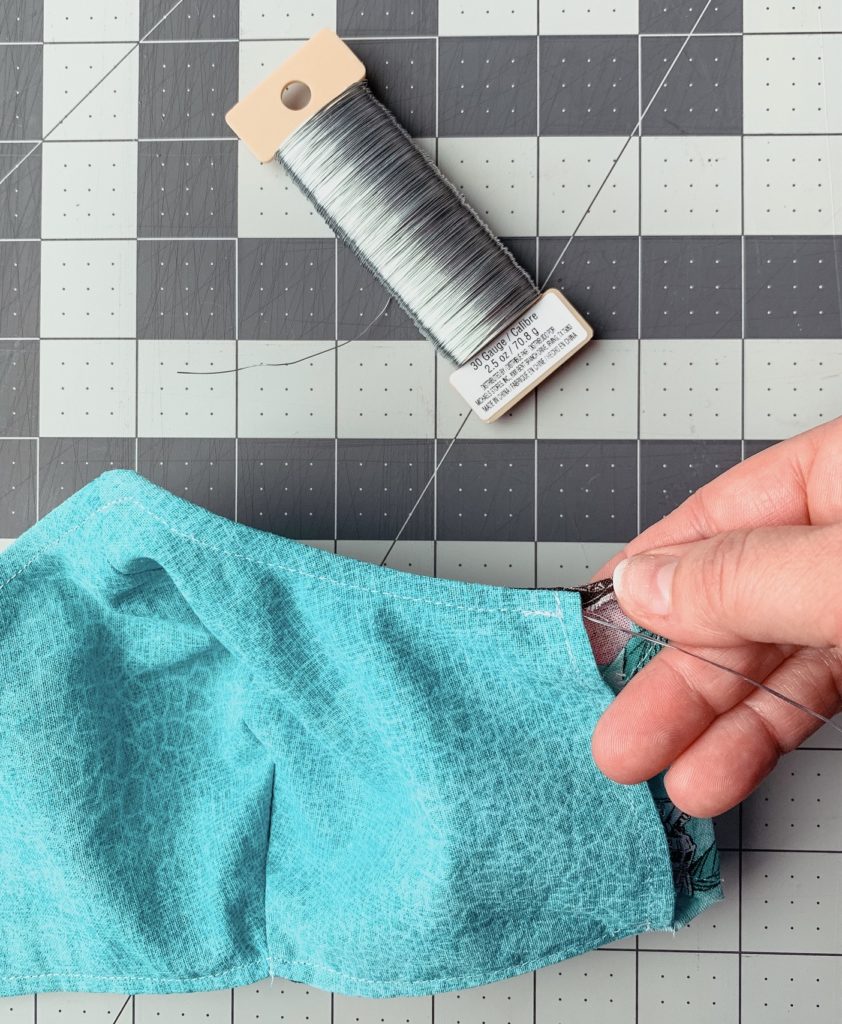
Step 15: Sew down the seam perpendicular to close off the track on both sides.
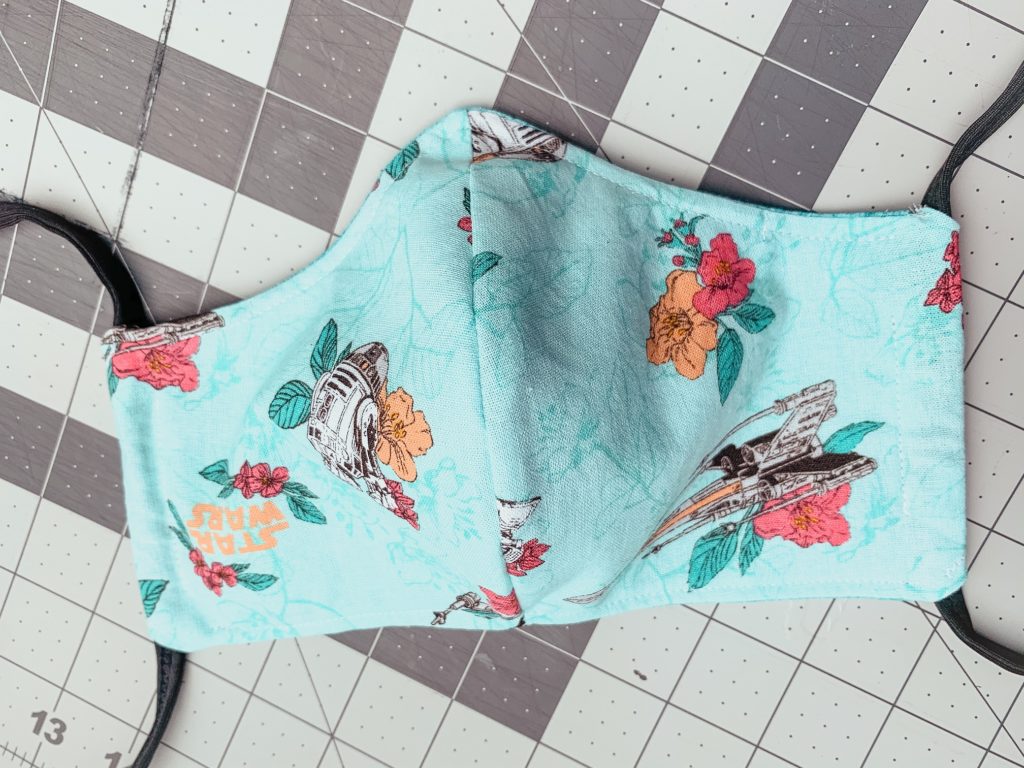
Step 16: Add your choice of elastic feeding through the loops made on each side of the mask. (You can choose to tie or sew the elastic together)
Material Options
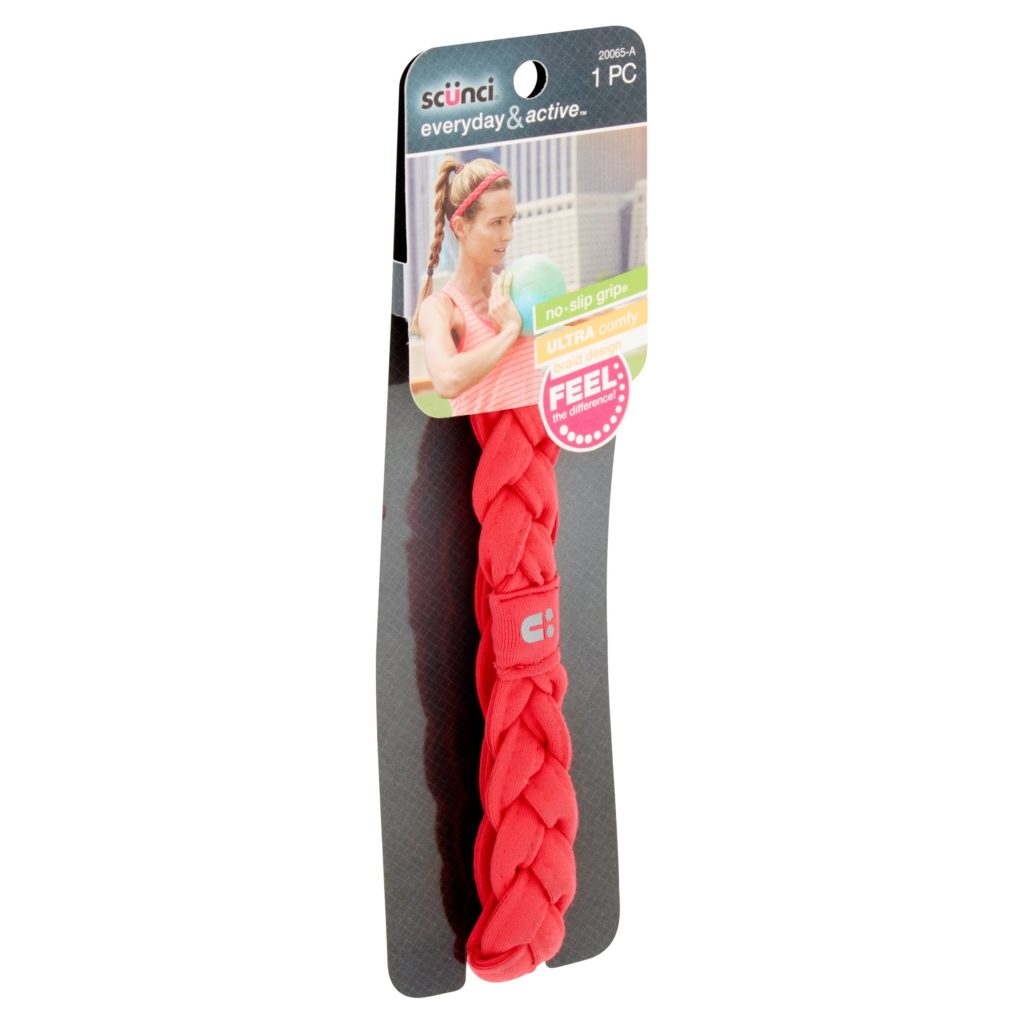
There are many variations to the materials that you can use based on availability and in stock items. I had to get creative using floral wire for nose piece and athletic headbands for the elastic. The headbands actually worked perfect because we wrapped the ties around the back of the head and tied them together. The headband elastic had a non slip grip so it stayed in place better than regular elastic. You could also use hair elastics or shoe strings. Don’t let the task of making these face masks cause you to have increased anxiety. They actually get easier once you complete the first one and you will get faster at it. Just take it one step at a time!
Kid Size Pattern
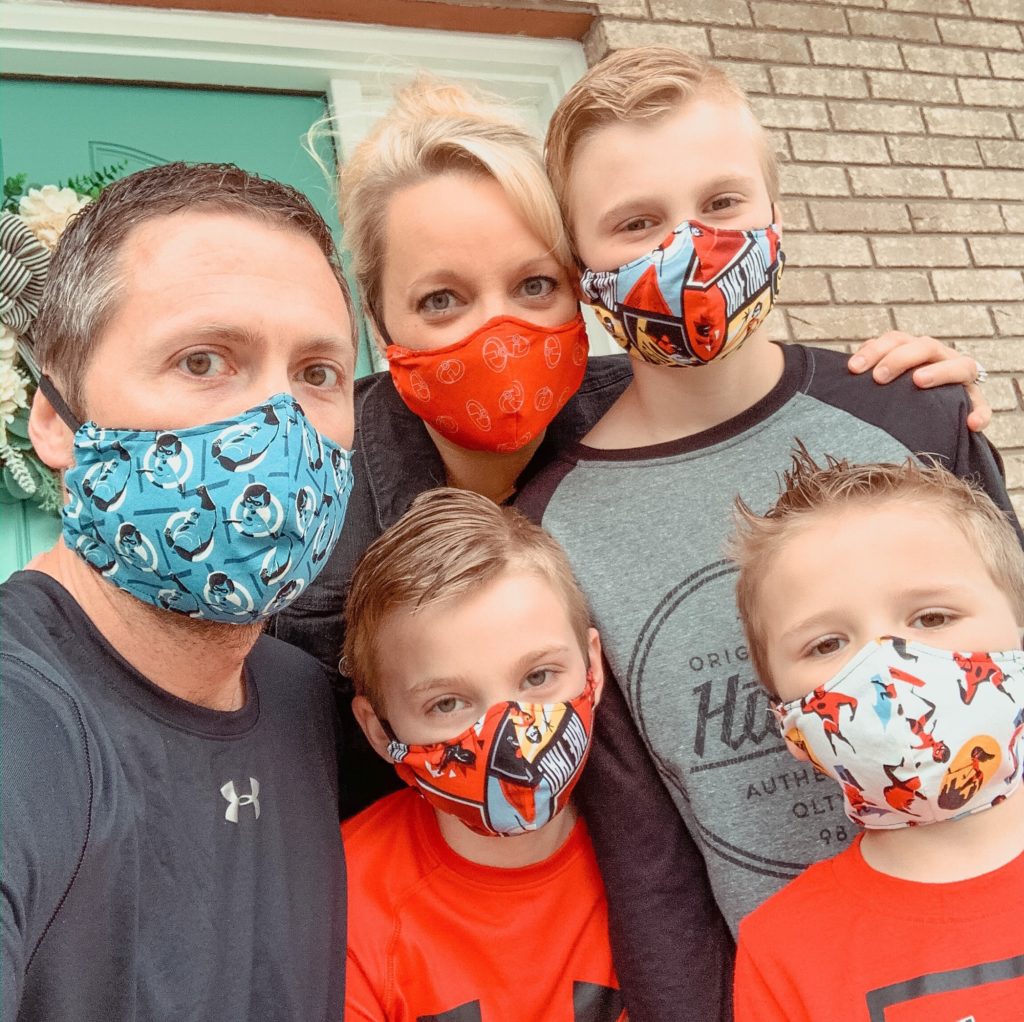
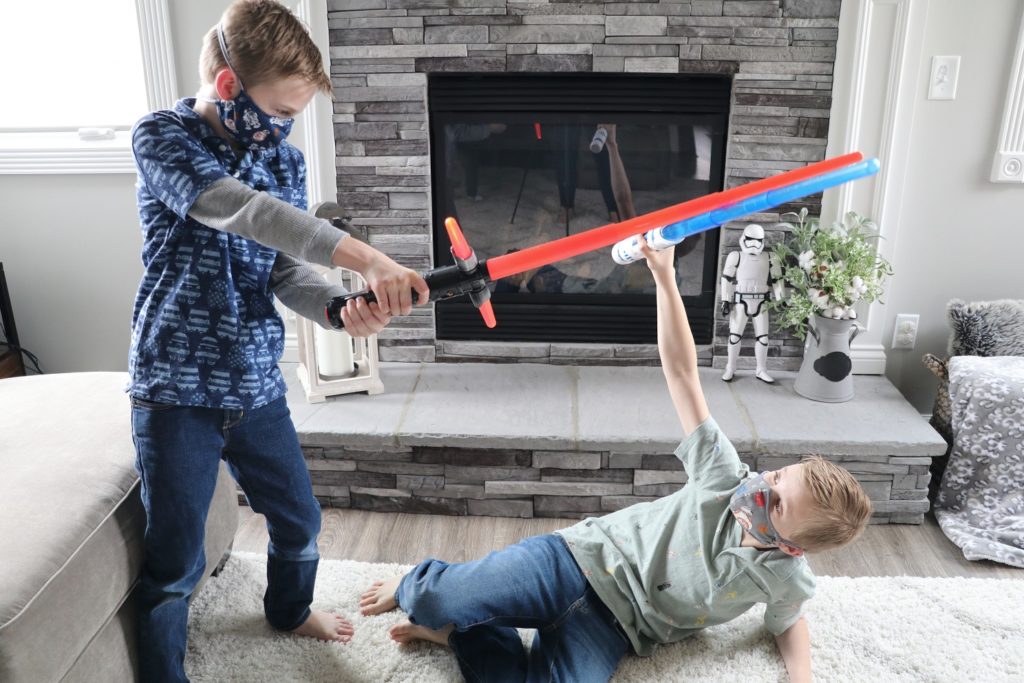
For the kids, I simply took the same pattern and made it a little smaller. I will be honest and say that they weren’t thrilled to wear them. My boys are super active and are constantly running around so they may take some getting used to. I also saw patterns where the elastic wrapped around the ears and knew that this won’t fly either. So I made the elastic to stretch around the back of the heads like a head strap. The non slip feature of headbands helped to keep the straps in place.
The kid size mask pattern is obtained by simply cutting the pattern at the dotted lines instead of the solid line. This makes it smaller to fit their little faces. It even worked for my 3 year old. Just follow the same steps from the original mask now with the smaller sized fabric.
Filter Options
I want to preface this to say that these are not medical grade masks or a replacement for N95 masks. However with the limited supply of personal protection equipment, these homemade masks are all that is available for the majority of us. Something just might be better than nothing.
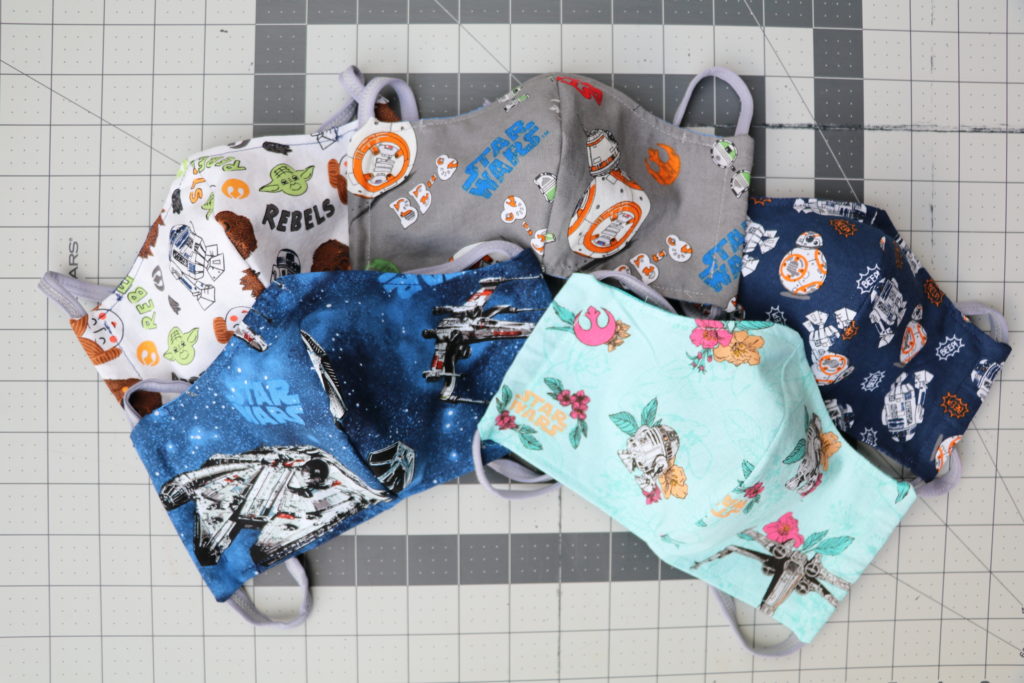
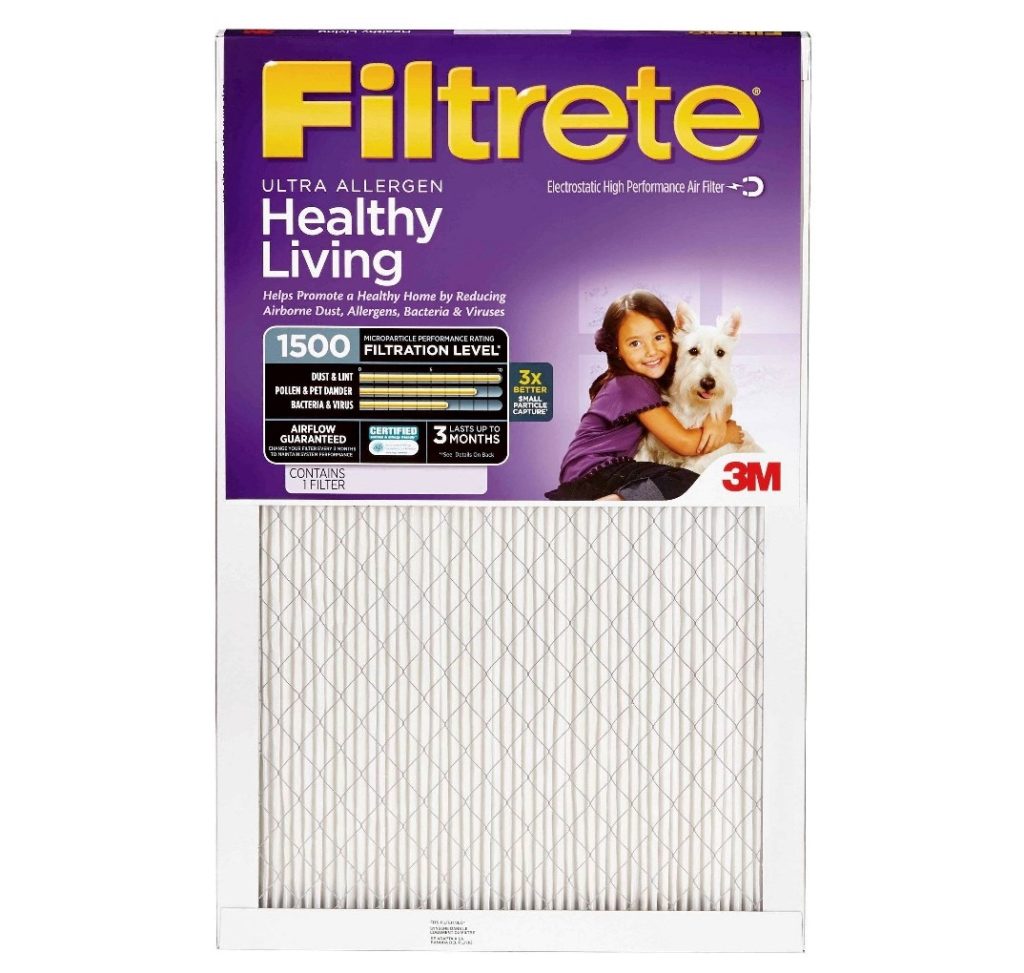
So, the main reason why I choose this pattern was because it allowed for a filter. This would allow you to reuse a surgical mask by putting it inside and rewashing the homemade cotton one. Some other filter options include coffee filters, vacuum cleaner bags, or HEPA grade filters for added protection. I haven’t tried all of these yet myself because I ordered a small amount of surgical masks before all the craziness started. However I did also purchase an allergy-reduction HVAC furnace filter from Filtrete that I intend to use as a filter in the mask if I have to. Simply cut open the furnace filter removing the wire and cut a piece of filter to fit between the two layers of the mask.

Important Safety Tips
- Plan your visits to essential stores during off peak times.
- Avoid cross contamination by using hand sanitizer as much as possible when out especially after touching common areas like door handles and credit card key pads. Yes even with gloves on!
- Limit the items that you touch while shopping. Only touch the items that you plan to put in the cart.
- Carry into the grocery store or other essential place only the minimum amount of things that you need and nothing else. For example bring only your car keys, hand sanitizer, gloves, credit card/money, Photo ID, phone (for emergencies only), and disposable grocery list on paper.
- Try to limit the use of cash as much as possible.
- Remember, always remove the mask carefully. (I immediately put it in a ziploc bag until I am home and can properly disinfect it)
- Do not reach under the mask with dirty hands or touch your face for any reason.
- Wash your hands and face immediately after removing mask or use hand sanitizer while you get home.
- For best results in cleaning masks – immediately upon removing, spray the front and back with hydrogen peroxide to kill germs, then wash in soap and hot water.
Hopefully, this helps and you are able to make some masks to protect your family too. I plan to offer some zoom calls to help people make them if there is interest. I will also try to make a live tutorial available soon. Feel free to ask me questions and provide feedback on what you are using to make your masks. We are all in this together!
Girl you amaze me at all the things you can do!! Stay safe & healthy!!