

Thinking about starting a garden? This year with the current pandemic and summer activities canceled, we decided it was the best time to start a garden. Plus all the empty shelves at the grocery stores have most of us thinking about alternate ways to get or grow our own food. Gardening can also be a great learning experience for the entire family.

I must confess, that I have a definite black thumb. So I am hopeful that I can learn how to grow a garden through experience and change my thumb to a shade of green. This garden will also serve as a great way to work on me. Instead of saying that I can’t and give up before even trying out of fear of failure, I am changing my mindset. So what if I fail at this whole gardening thing?? Today, I am believing in myself that I can.
Gardening with raised beds has become the way to go for most of us living the suburbia life. Our existing soil consists of mostly clay, rock, and compacted soil. Definitely not ideal conditions for growing and will take lots of work to get there. Raised beds ensure the best growing conditions from the start by filling it with the right soil mix. Plus raised beds have better drainage and warm-up earlier in the season.
Now that you are ready to start, here are 10 helpful tips for planning and starting your raised bed garden.
1. Picking the right raised bed garden option for you.
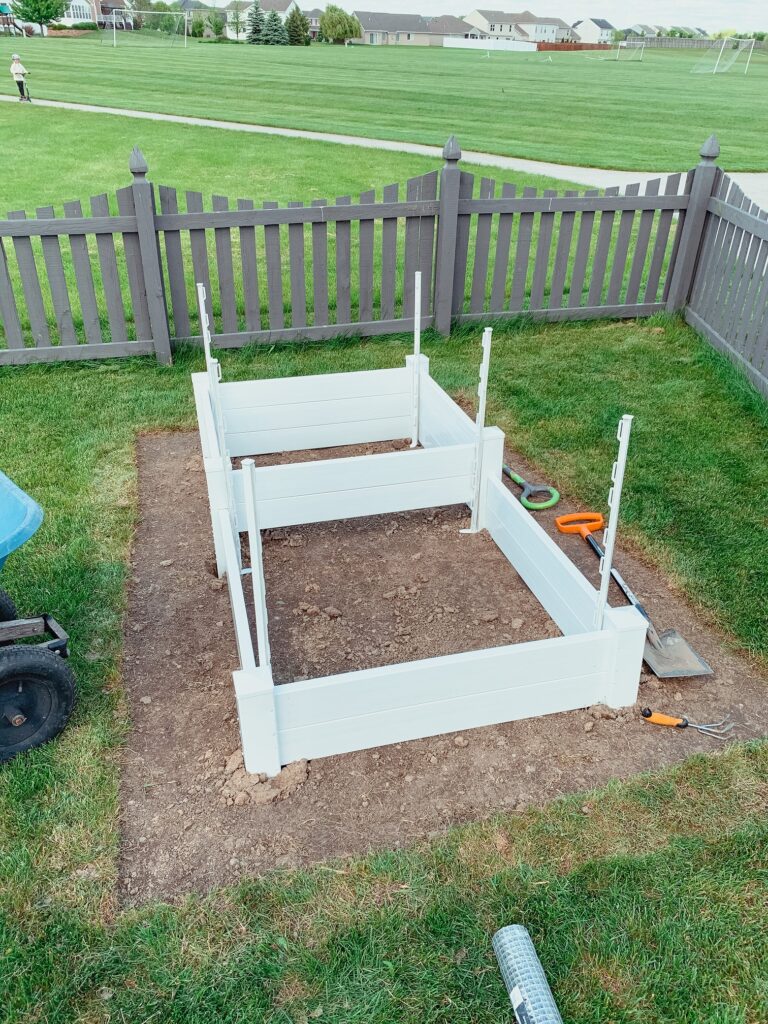
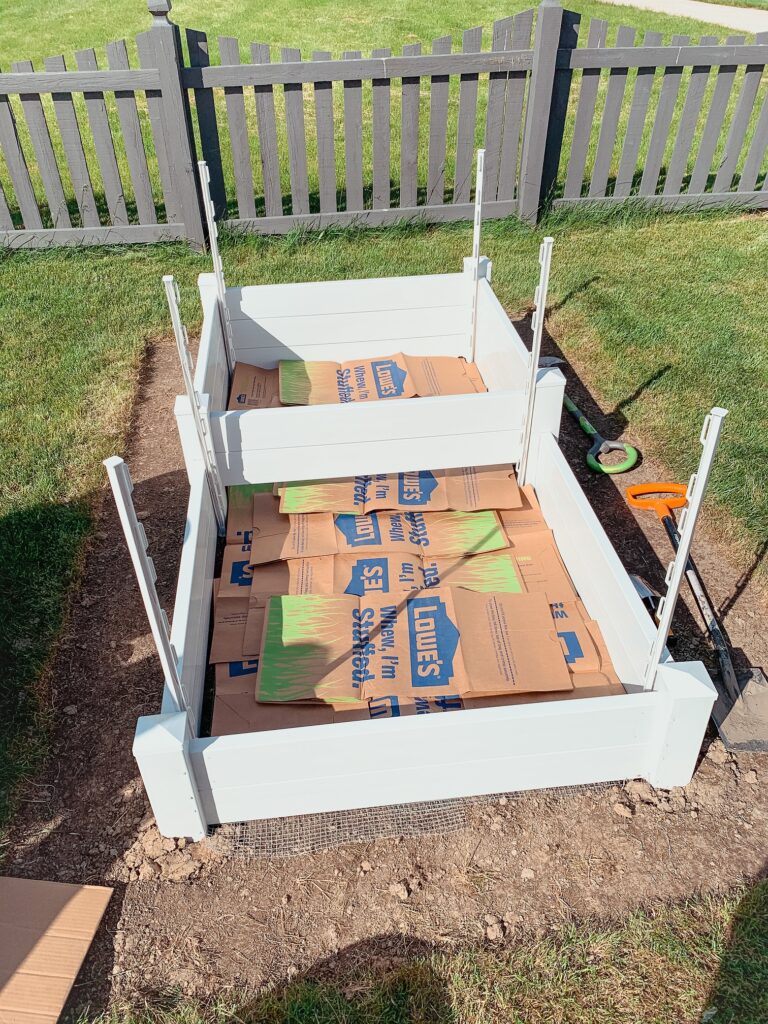
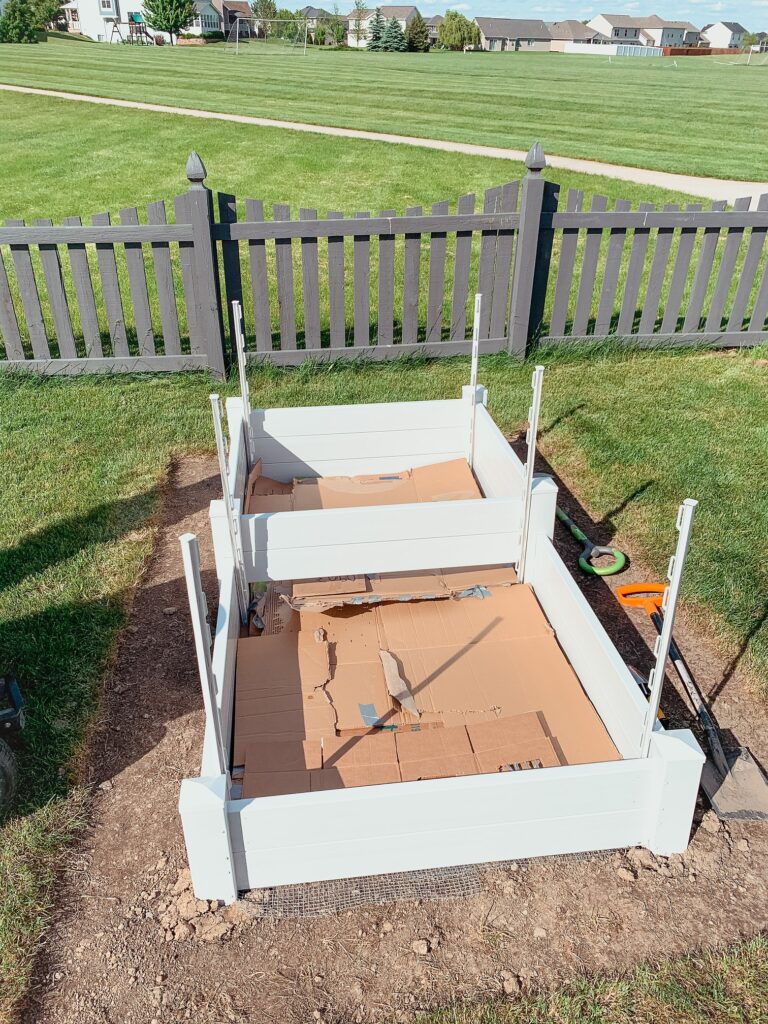
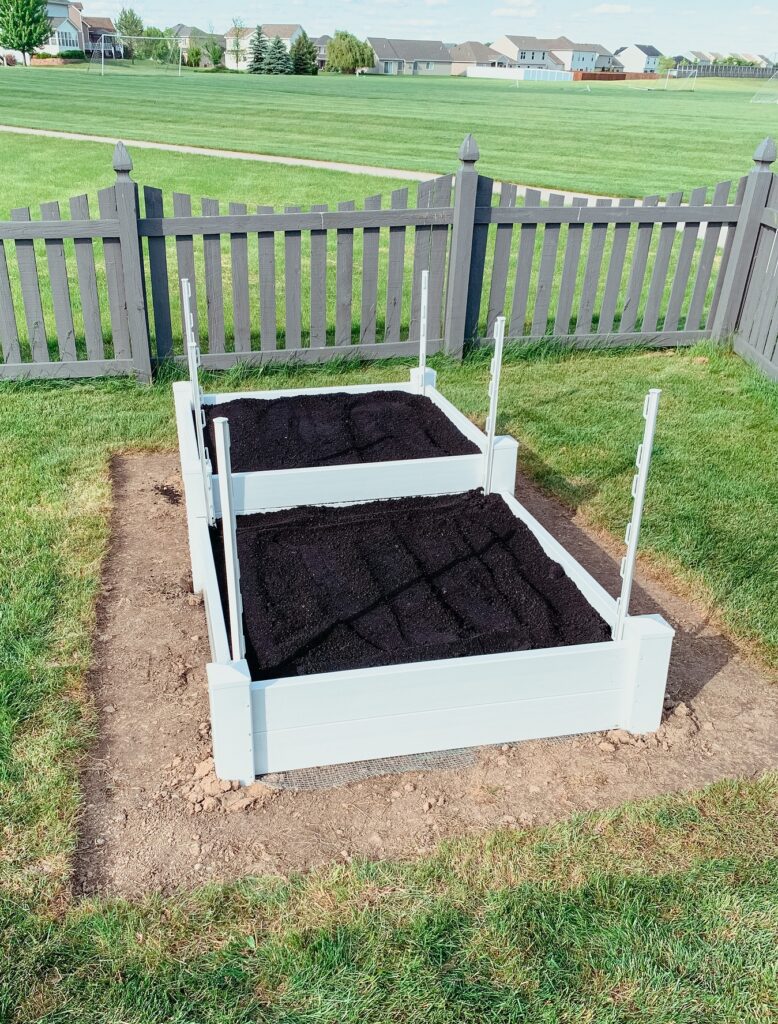
You will want to consider the location and size of your backyard. There are so many tutorials out there to build your own raised bed or purchase one. If you are going to DIY it, cedar and redwood will last longer than beds made with pine. For us, it made the most sense to get one already premade. We purchased our split level white raised garden bed from Dura-Trel. The ideal layout of your raised-bed garden should be no more than 4 feet wide. Each bed can be as long as you want but remember you will have to walk all the way around it when working. If your bed pushes up against a wall or fence then reduce the bed width to 2 feet.
2. Set up irrigation and watering system before you plant.
Think ahead to the type of irrigation system that you will want. Hindsight is 20/20 for us on this one. Adding a watering system now will disrupt our transplants (or seeds). Check out this post on How To Install DIY Drip Irrigation In Your Garden. Next year, we will plan ahead. When watering by hand, water at the base, not the leaves. I have found that a watering wand works best to get the water where you want it. The best time to water is in the morning before 10 am.
3. Choose the best spot in your yard for your raised bed.
Pick a spot in your yard with the best and most sunlight. You ideally want a spot with at least 8 hours of sunlight and morning sun is ideal. Also consider the accessibility to water, level ground, and good drainage.
4. Maximize space around multiple raised garden beds.
We started with one bed this year but if all goes well, we plan to add one more next year. When we planned the location this year, we wanted room between the fence and the bed to work and mow the grass. When installing multiple beds think about the available space between beds too. You will want 2-3 feet or more to easily plant, maintain, and harvest your beds.
5. Keep out the wildlife.
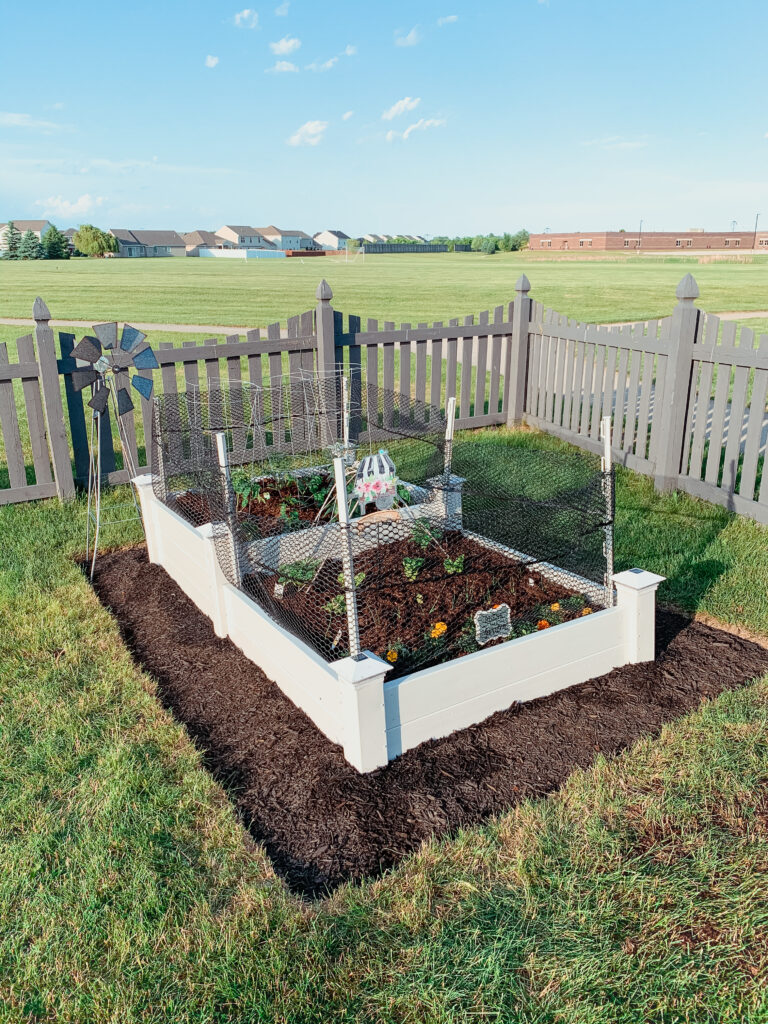
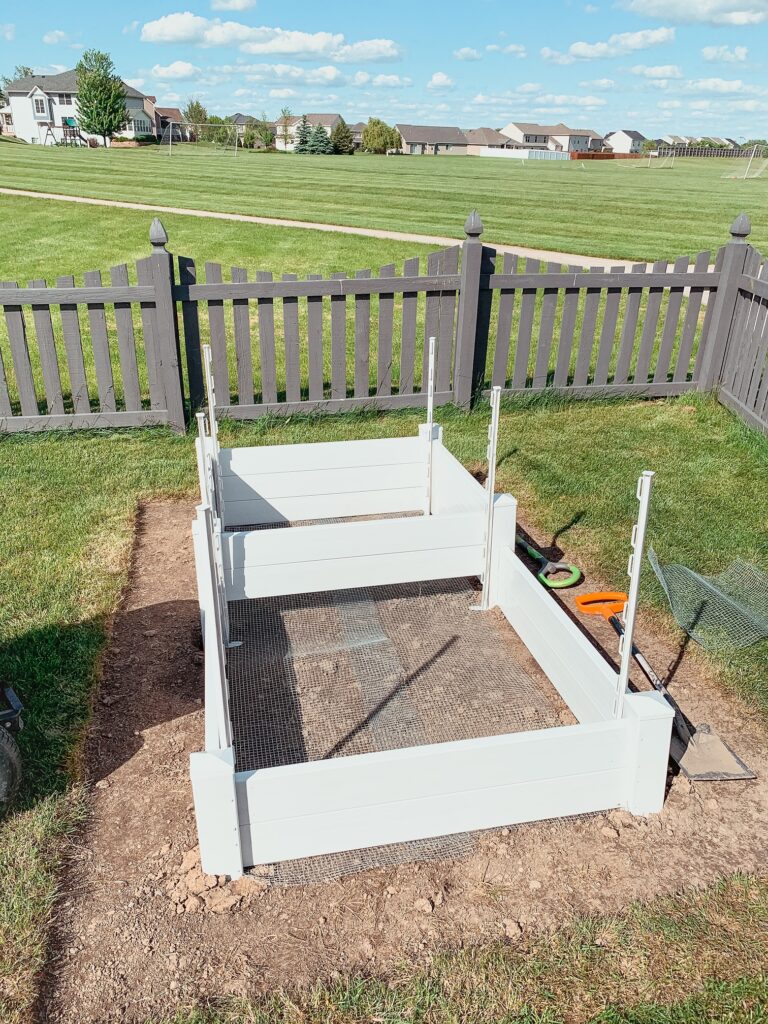
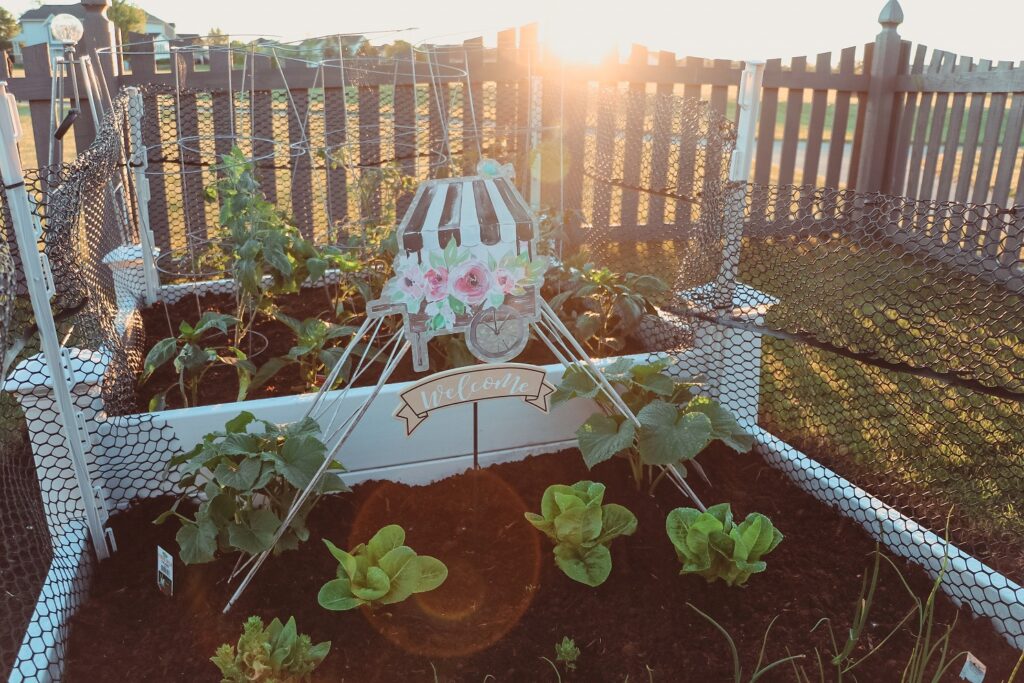
Deer, rabbits and other wildlife can eat away all your hard work. We don’t see any deer around our house especially with a yard fence. However, bunnies multiply like crazy around here. I saw two the day we planted. Most bunnies can’t jump higher than 2 ft so make sure the sides of your garden are at least 2 ft from the ground. The most effective way to keep those critters out is with a chicken wire type fence with openings less than 1 inch. Also burying the fence 3-6 inches to keep them from burrowing under it. We used a black poultry fence around ours and it would have been easier to install as we filled it with dirt instead of after.
6. Filling your garden bed.
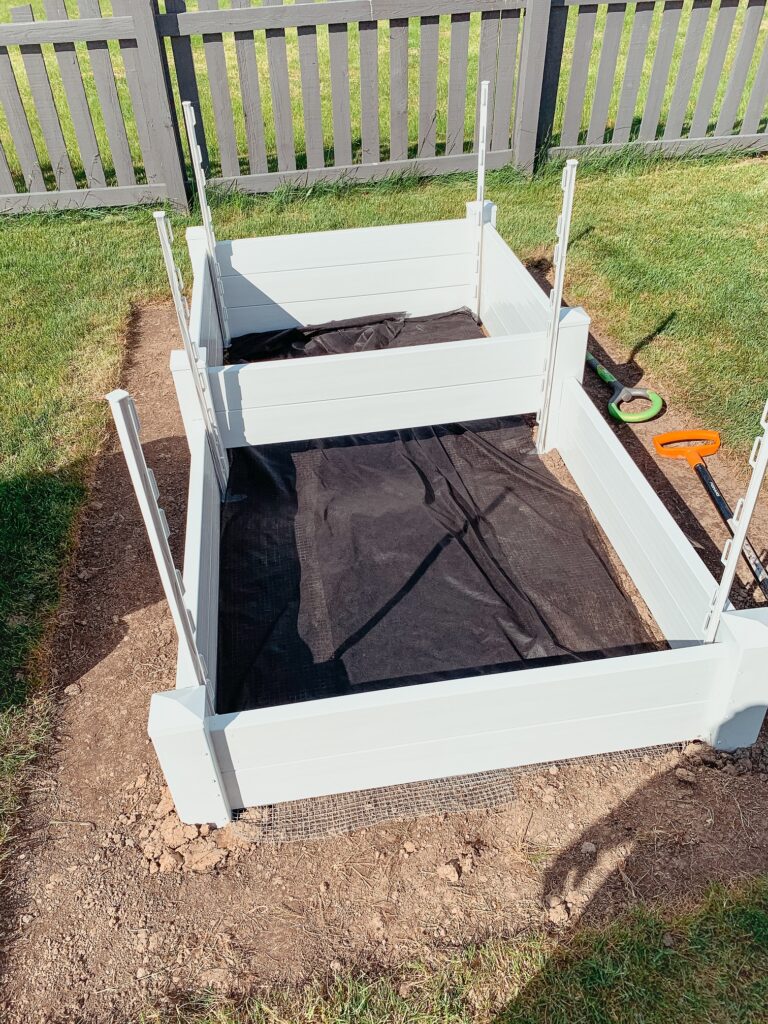
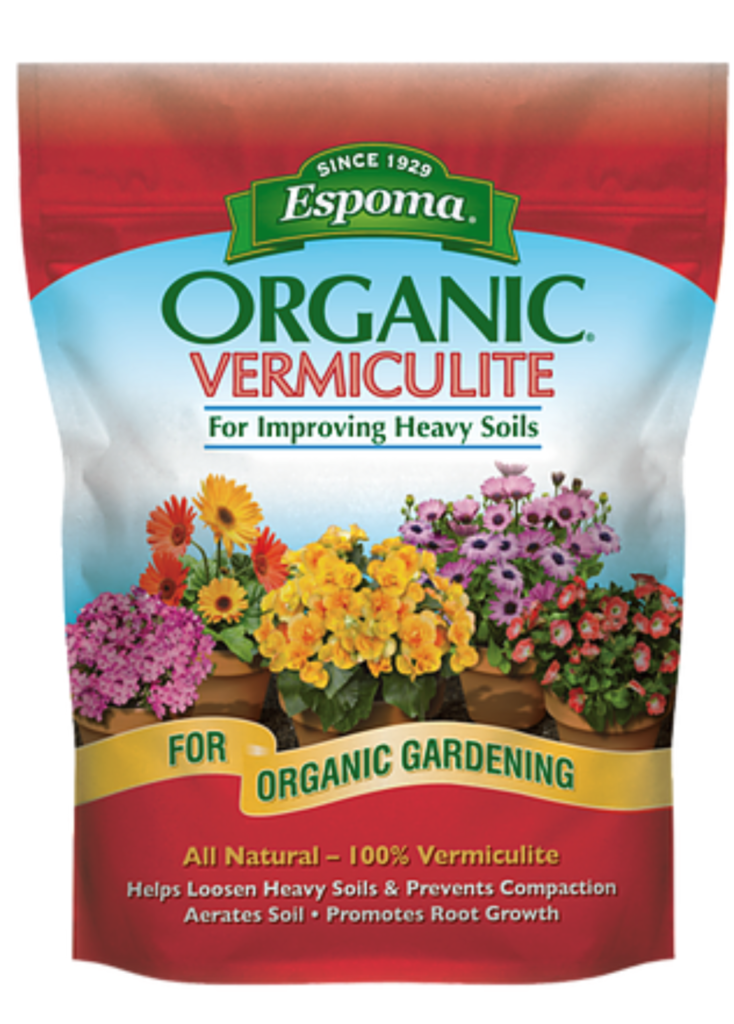
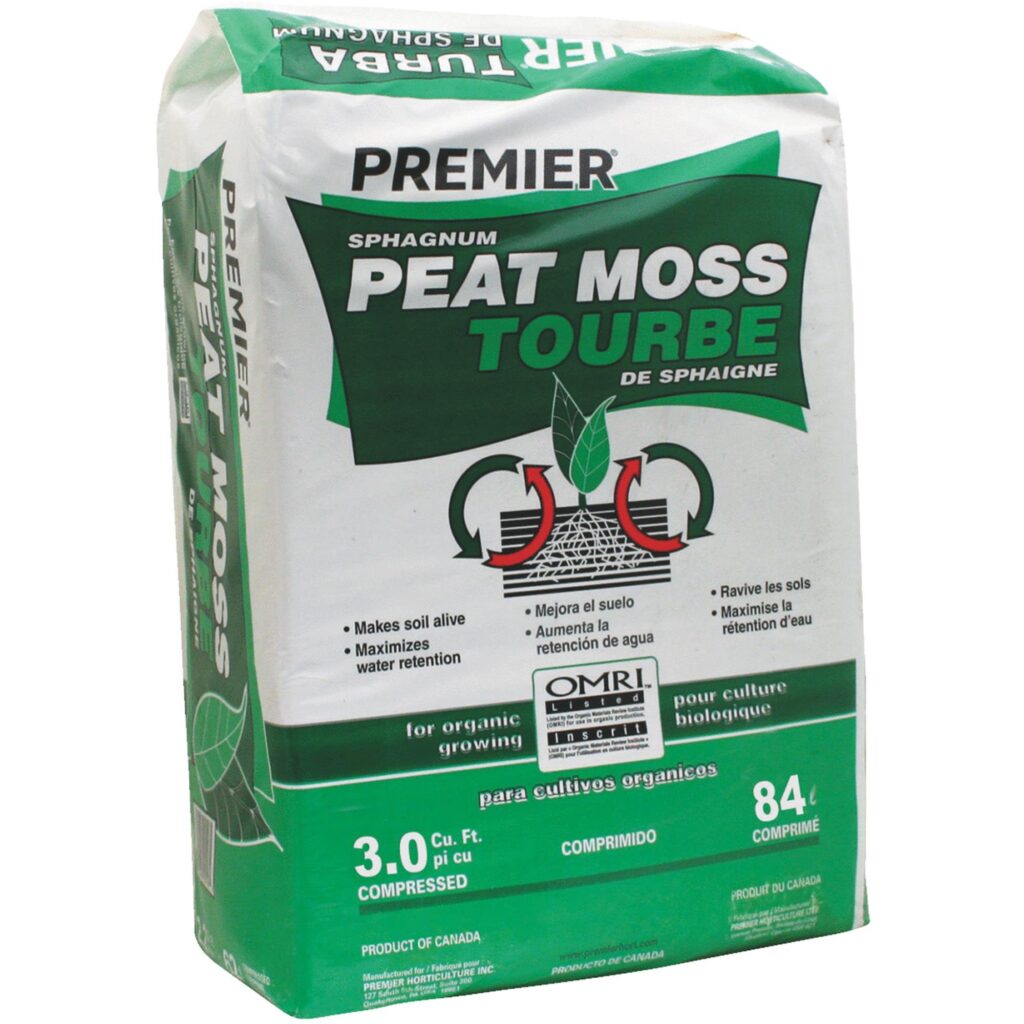
There is more than one way to skin a cat on this one. A figure of speech, no cats are getting skinned here. Once we leveled the bed the best we could, we started with a layer of small grid wire. We lifted the bed and placed the wire underneath the sides too. This step is intended to keep rodents from burrowing under our bed. The next layers were landscape fabric (weed barrier) followed by cardboard and brown paper sacks. Next you could add twigs and branches but we skipped that step. Then we added garden topsoil mixed with compost, vermiculite, and peat moss. We finished it with a thin layer of the Miracle-Gro Performance Organics In-Ground soil too.

7. Plant your vegetables to maximize sunlight.
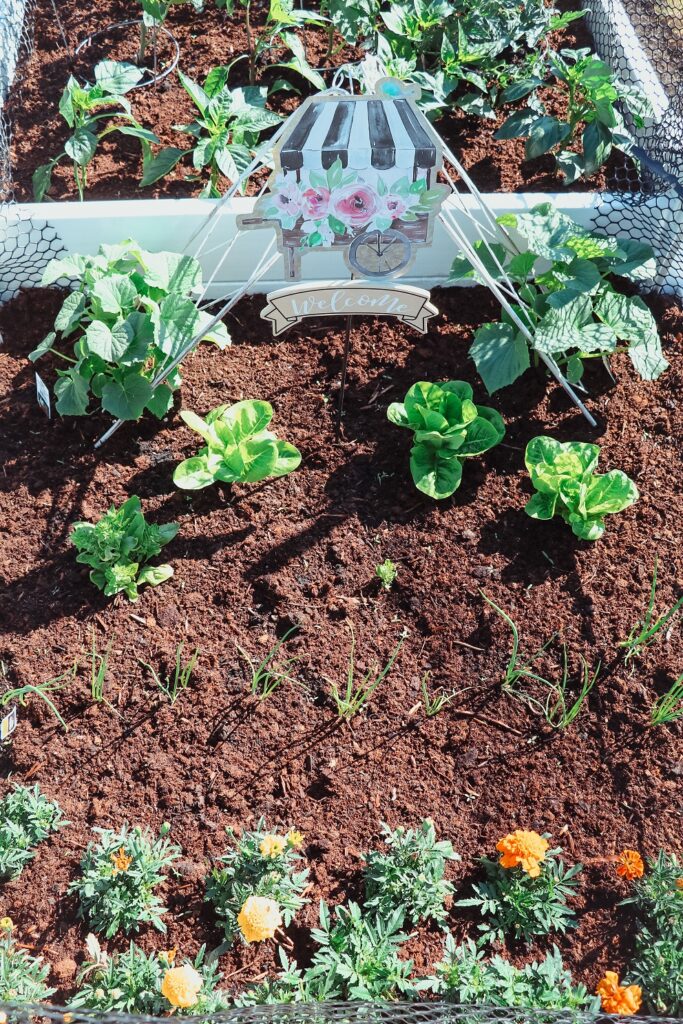
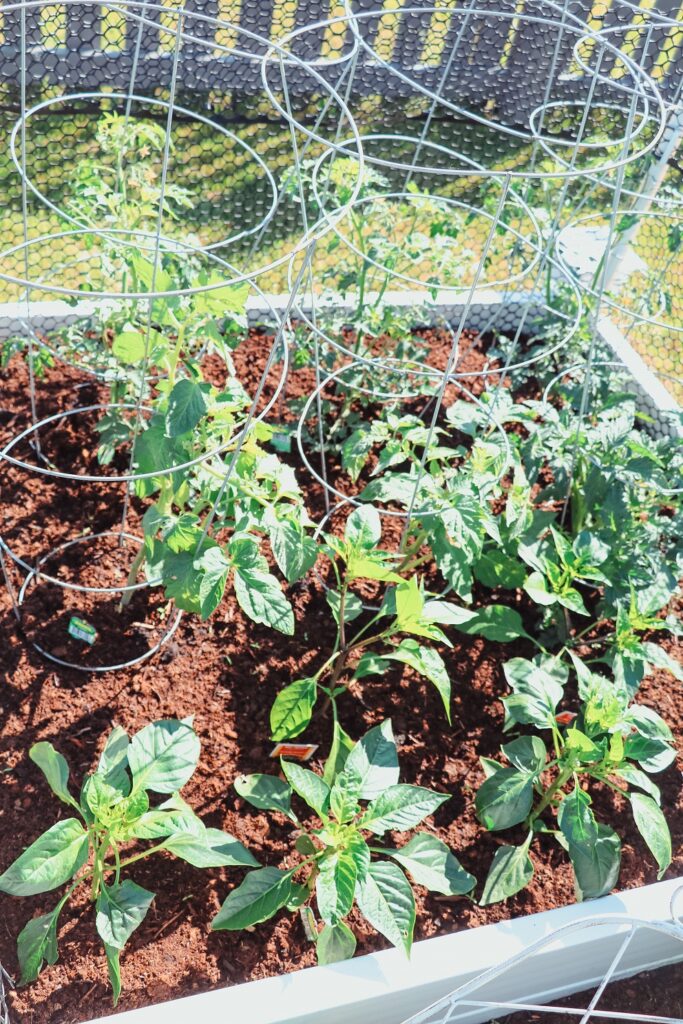
Plant your vegetables from the shortest to the tallest. We planted our vegetables in order of onion, lettuce, and cucumber with trellis (can provide shade to lettuce too) in one-tier. On the second tier, we planted green and red peppers, jalapeño, Roma tomatoes, and cherry tomatoes. Special thanks to Kayla from Big Lake Trading Post for the seeds/plants and the help with all my beginner questions.
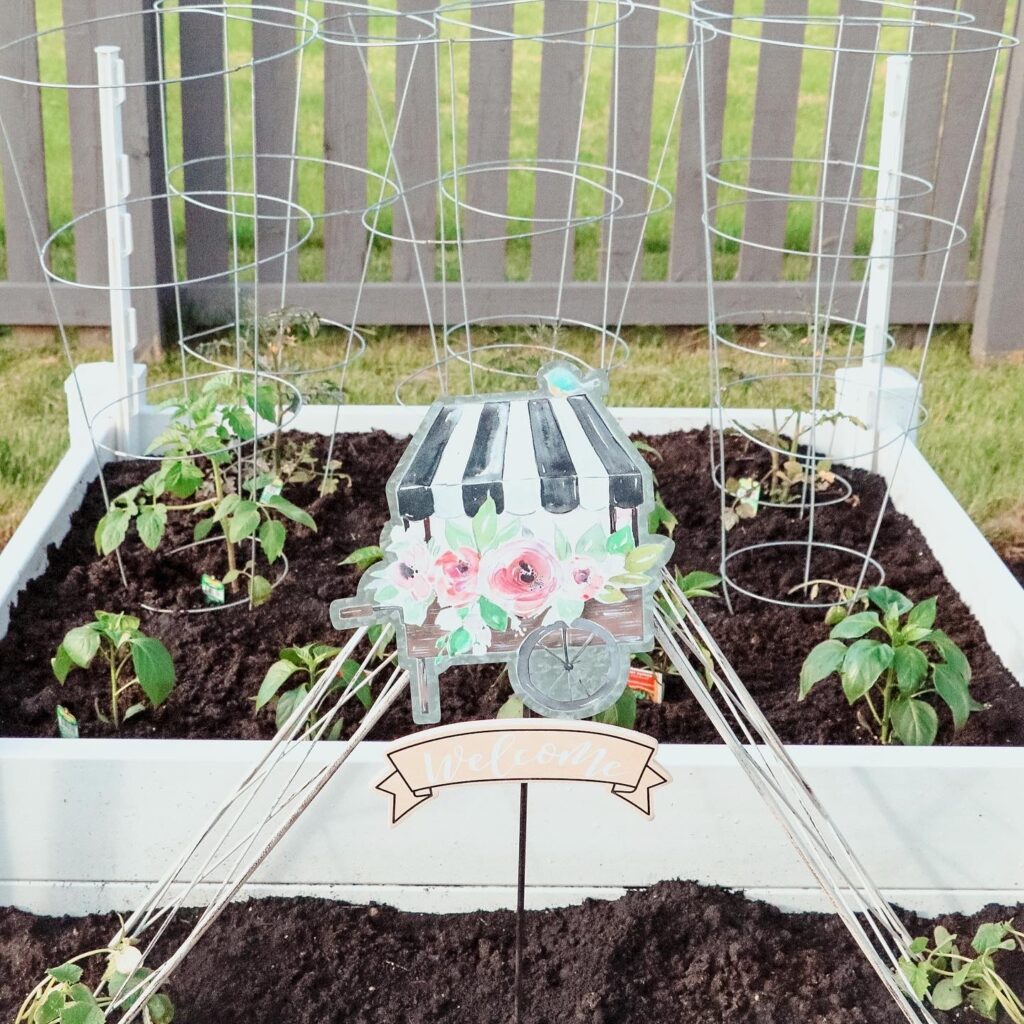
8. Maximize space by growing some plants vertically.
Several vine type plants like cucumbers, green beans, and tomatoes can be trained to crawl upwards to maximize space. Some actually grow better this way. Available options for plants to climb are trellis, stakes, or cages. You will want to place the trellis towards the back of the garden (north edge) or along a fence. We placed an A-frame trellis for the cucumbers in the back of the first tier, which will also provide some needed shade for the lettuce. Our frame was two small white ones zipped tied together but here is a better option. The tomato cages were also positioned in the back of the second tier too.

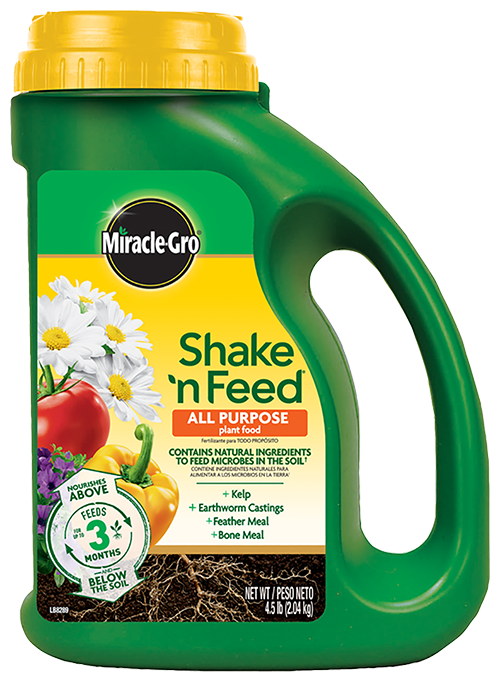
9. Providing nourishment to your garden.
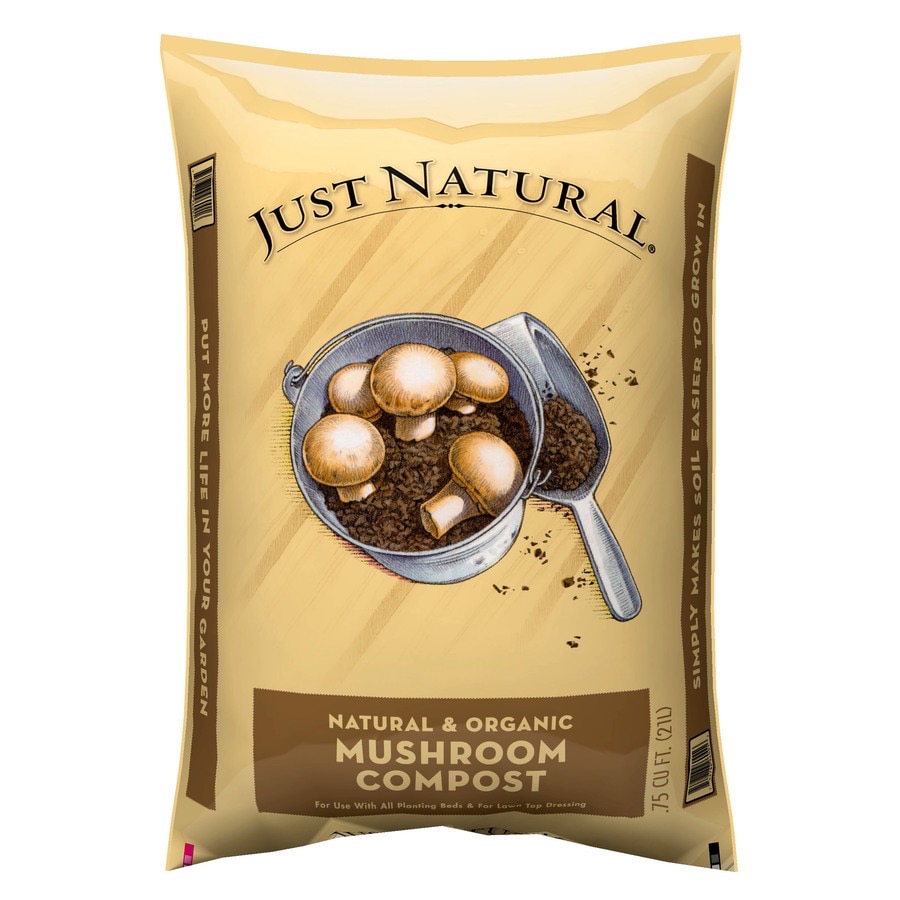
After planting, we top-dressed the garden with another layer of compost focusing around the plants. Just Natural Mushroom Compost is the option that we choose. My youngest said that it smelled like a zoo. I also sprinkled some Miracle-Gro Shake ‘n Feed. Then to help keep the moisture in the soil and prevent evaporation especially during the hot summer days, we added a layer of just peat moss to the top. We wanted something that was organic and could improve the soil over time. Other options are grass clippings, newspaper, and straw.
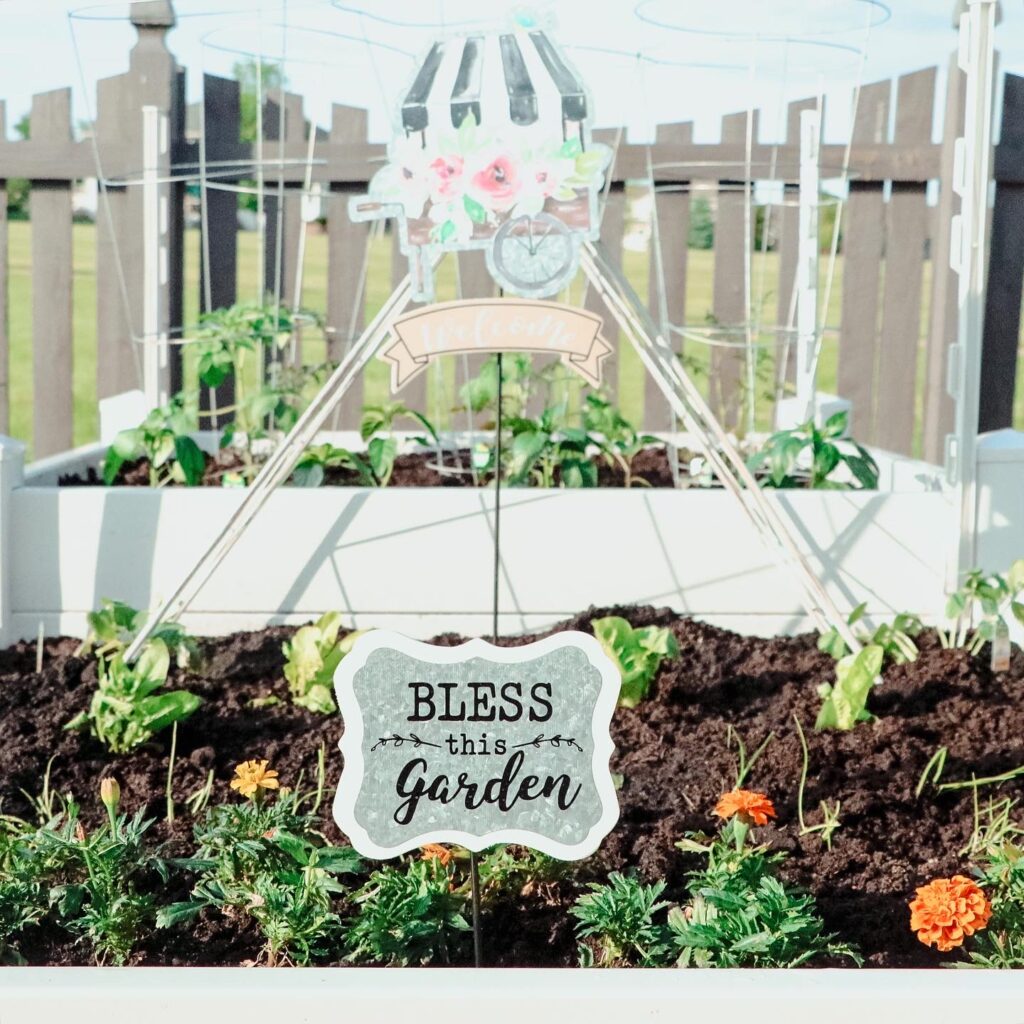
10. Make it your own.
This is where the real fun begins! Several local hardware stores had beautiful garden accents to choose from. After searching, I purchased a couple of garden signs, post lights, and a lighted windmill. It was in love with how our little garden turned out!
Each morning the boys take turns walking with me to the garden to water and pull weeds. They ask lots of questions and are eagerly anticipating eating the veggies when they are ready. Such a great learning experience and bonding time with them.
“When the world wearies and society fails to satisfy, there is always the garden.” -Minnie Aumonier. With everything going on in the world these last few weeks and months, many of us are finding new ways to cope. Listening to the sounds of nature in the morning with a cup of coffee has brought me peace. Gardening has become my safe haven.
I hope you found a few tips that will help you with your gardening journey.Comment with your best gardening tips. We all can learn from each other and get back to nature.
“A garden returns 50x the investment you put into it. Not just food, but joy, peace, and a real connection with creation. A spiritual retreat from a noisy world and hurried people. Grow a garden.” -Unknown
